How to Permanently Fix a Leaky Outdoor Hose Bib?
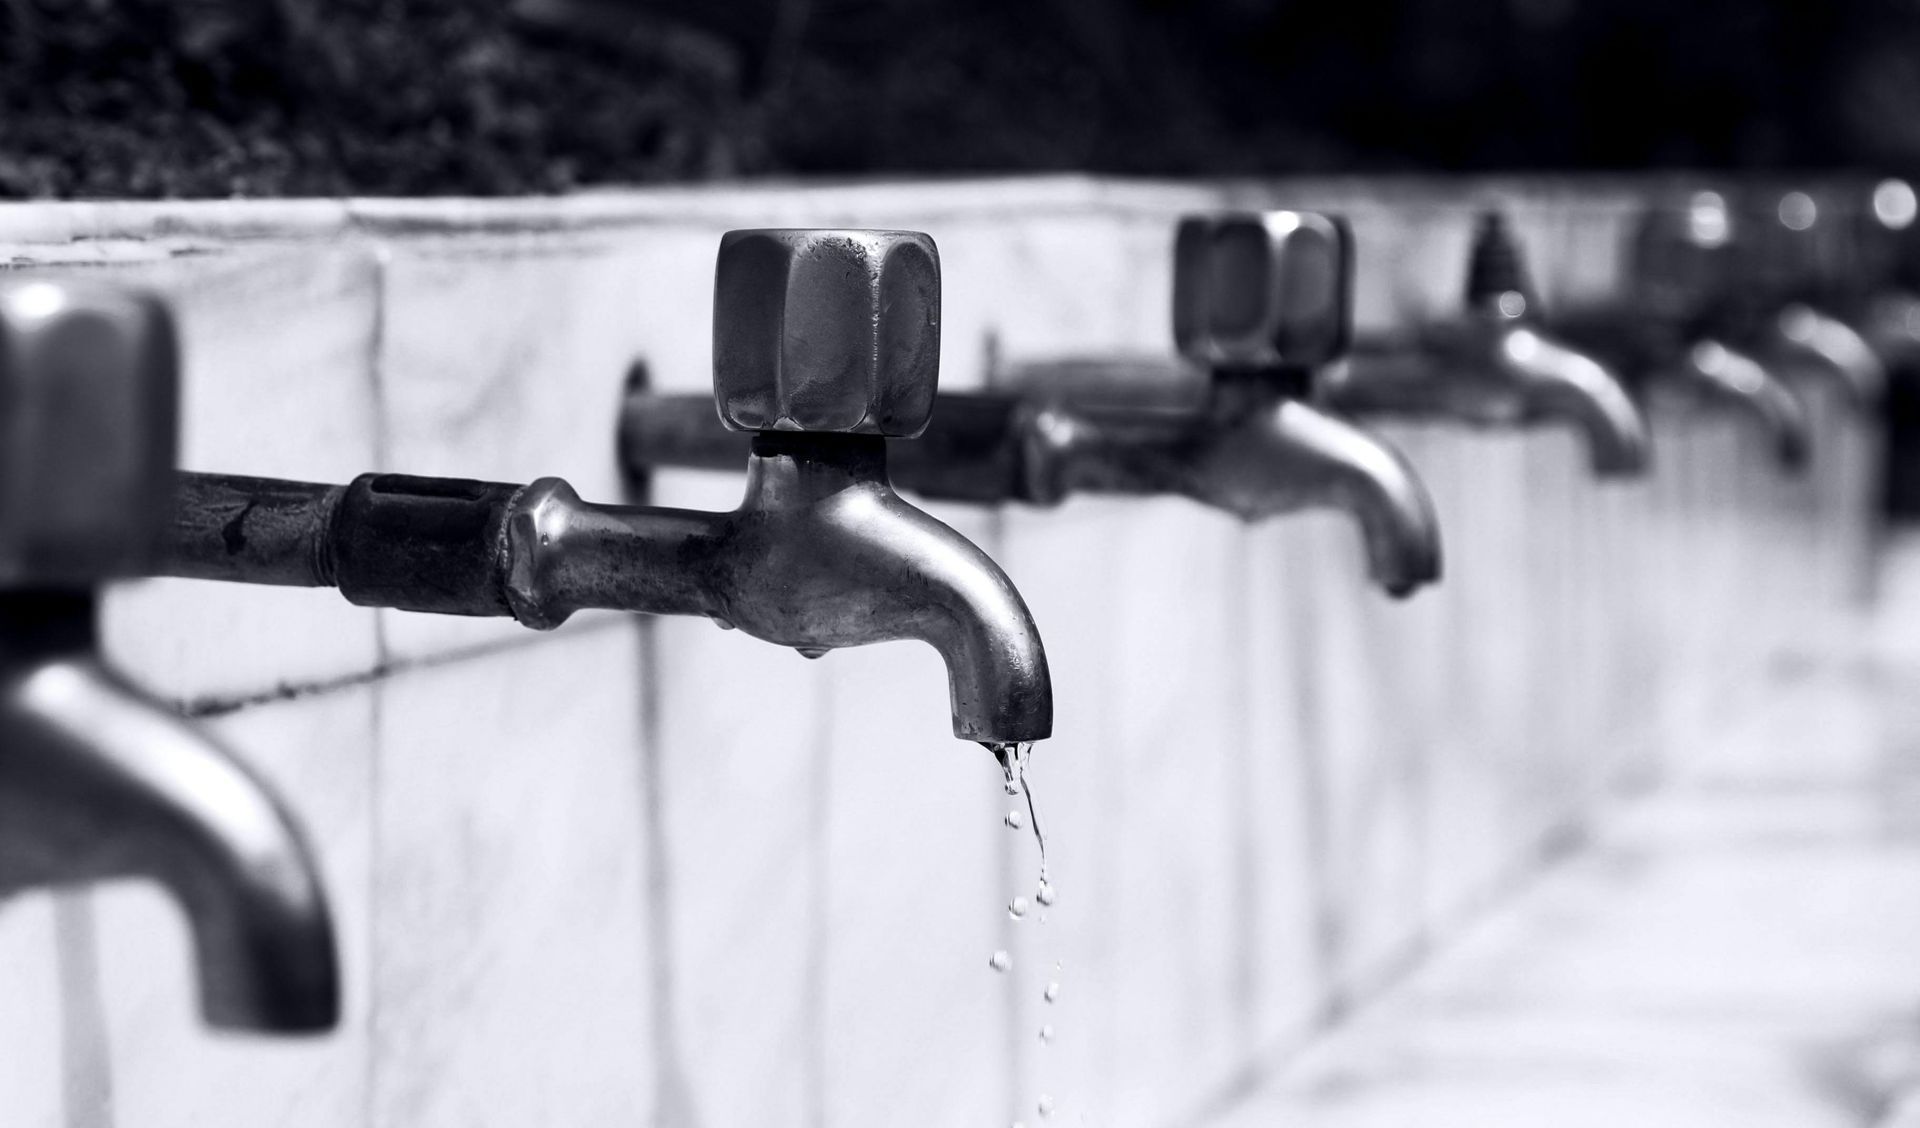
A leaky outdoor hose bib, also known as a spigot or garden faucet, is a common plumbing nuisance that not only wastes water but can also increase your water bill and cause damage to your home's exterior or foundation. Over time, wear and tear on washers, valve seats, and packing materials can lead to persistent drips or leaks around the handle or spout. Fixing a leaky hose bib properly ensures reliable outdoor water access while conserving water and protecting your property from moisture-related problems.
This detailed article explains how to permanently repair a leaking outdoor hose bib with a step-by-step approach. It covers identifying leak sources, disassembling the valve, replacing worn parts, and sealing connections correctly. Additionally, we highlight related maintenance tasks such as how to clean and maintain outdoor drains and the value of components like expansion tanks in your plumbing system. For those seeking professional assistance, the expertise of companies like All City Plumbers can provide peace of mind and guaranteed results.
Understanding the Hose Bib and Common Leak Points
An outdoor hose bib typically operates with a compression-style valve mechanism. Turning the handle lowers or raises a rubber or neoprene washer against a valve seat inside the assembly, controlling water flow. Leaks generally occur due to worn washers, faulty valve seats, degraded packing material around the stem, or loose fittings.
Leaks may manifest in two primary areas: at the handle where water seeps around the stem (packing leak) or at the spout where water drips even when the valve is closed (washer or seat leak). Pinpointing the exact leak source guides the correct repair steps.
Essential Tools and Materials
Before starting the repair, gather the necessary tools and supplies:
- Adjustable wrench or channel-lock pliers
- Phillips and flathead screwdrivers
- Replacement washer suitable for your hose bib model
- Valve seat wrench or reseating tool (may be required)
- New packing string or bonnet packing
- Teflon tape for threaded joints
- Lubricant or penetrating oil for loosening corroded parts
- Bucket or towels to catch residual water
Preparing the Work Area
Start by shutting off the water supply to the hose bib. This might be an individual shutoff valve on the exterior or the main water supply inside the home. Open the hose bib to drain any remaining water and relieve pressure.
Protect surrounding surfaces with towels or a bucket to catch drips as you disassemble the bib. Adequate lighting and a clean, organized area will facilitate a smoother repair.
Step-by-Step Repair Process
Remove the Handle
Use a screwdriver to remove the handle screw, which may be hidden under a decorative cap. Gently pull the handle off the stem. If the handle is stuck due to corrosion, apply penetrating oil and allow it to soak before retrying.
Loosen and Remove the Packing Nut
The packing nut sits just beneath the handle and compresses the packing material around the stem to prevent leaks. Using an adjustable wrench, carefully loosen the nut. Avoid excessive force to prevent damage to the faucet body.
Inspect and Replace the Packing Material
Remove the old packing string or gland. This material seals the stem to keep water from leaking around it. Replace it with new packing string by wrapping it evenly around the stem several times before reassembling. Alternatively, use a new bonnet packing ring if appropriate.
Remove the Stem Assembly
Unscrew or pull out the stem assembly from the hose bib body. This component houses the washer and valve seat contact. If it is stuck, careful rocking and penetrating oil may help.
Replace the Washer
At the bottom of the stem is the washer, which presses against the valve seat to stop water flow. Remove the old washer and replace it with a new one matching the size and thickness. Secure it with the appropriate screw.
Inspect and Reseat or Replace the Valve Seat
If the washer replacement does not fully stop the leak, the valve seat inside the faucet body may be corroded or damaged. Use a valve seat wrench or reseating tool to grind and smooth the seat surface, ensuring a tight seal with the new washer. If the valve seat is beyond repair, replace it.
Reassemble the Hose Bib
Reinsert the stem into the faucet body, tighten the packing nut (not too tight), and reattach the handle. Seal any external threaded connections with Teflon tape before reconnecting to prevent future leaks.
Turn the Water Supply On and Test
Turn on the water supply and open the hose bib. Observe carefully for any leaks around the packing nut, stem, or spout. Tighten gently if minor leaks persist, but avoid over-torquing.
Additional Maintenance Tips and Related Plumbing Considerations
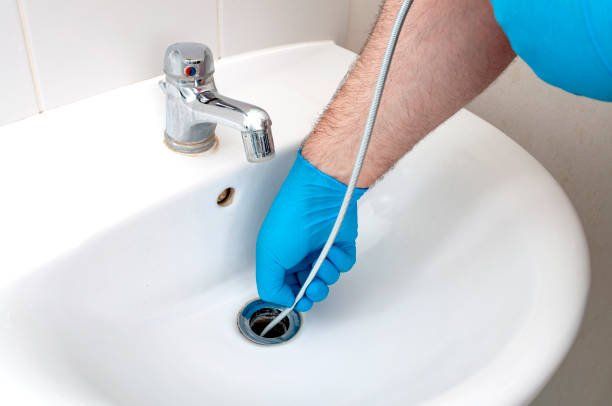
Maintaining your outdoor plumbing extends beyond hose bib repairs. Regularly clean and maintain outdoor drains to prevent clogs and water pooling, which can damage landscaping and foundation elements. Consider inspecting and servicing expansion tanks within your plumbing system to ensure pressure stability, as fluctuations might contribute indirectly to leaks.
If you notice frequent leaks or deteriorating outdoor plumbing fixtures, it might be a sign of broader plumbing system issues such as aging pipes or shifting soil conditions that could warrant professional waterline repair and replacement.
Professional Plumbing Services for Hose Bib Repairs
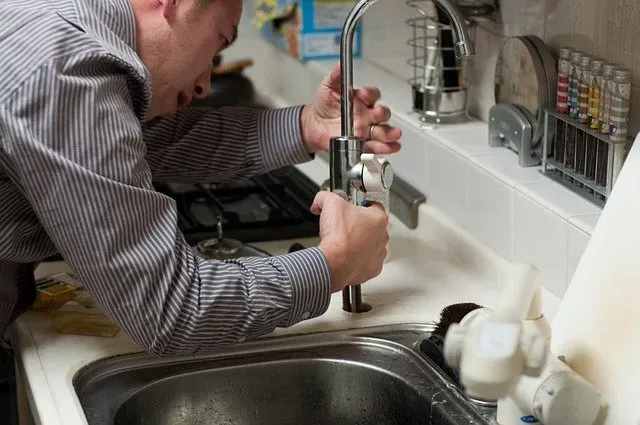
Although many homeowners can manage hose bib repairs themselves, some situations require expert intervention. Corroded pipes, inaccessible shutoff valves, or complicated outdoor plumbing layouts are best addressed by licensed plumbers. Reliable companies like All City Plumbers combine experience, the right tools, and knowledge of local plumbing codes to deliver durable repairs, reducing water waste and preventing costly damage.
Conclusion
Permanently fixing a leaky outdoor hose bib is achievable with the right tools, materials, and methodical approach. By identifying leaks, replacing worn washers and packing, and reseating valve components, you can restore proper function and conserve water effectively. Supporting outdoor plumbing maintenance with regular drain cleaning and inspecting related components like expansion tanks further enhances the reliability of your water system.
For the utmost confidence and long-term durability, consider professional plumbing services such as All City Plumbers. Their expertise ensures your outdoor fixtures and entire plumbing infrastructure remain leak-free and efficient, protecting your home and investment.
Taking prompt action on hose bib leaks not only saves water and money but also preserves the comfort and functionality of your outdoor living spaces for years to come.

