How to Effectively Flush Sediment From Your Water Heater?
Sediment buildup inside your water heater can severely affect its performance and lifespan. Over time, minerals such as calcium and magnesium settle at the bottom of the tank, forming sediment layers that reduce heating efficiency, cause strange noises, increase energy bills, and may even lead to premature tank failure. Flushing sediment from your water heater regularly is essential to maintain optimal function and prevent costly repairs.
This article provides a comprehensive, professional guide on how to effectively flush sediment from your water heater. Additionally, we will discuss related maintenance tips including how to prevent clogs in your laundry room drain, considerations for sump pump repair, and when to consult expert services such as All City Plumbers.
Understanding Sediment Buildup and Its Impact
Hard water contains dissolved minerals that accumulate as sediment inside water heaters. This sediment forms a layer at the bottom of the tank, insulating the heating element and forcing the heater to work harder to maintain temperature. The result is increased energy consumption and uneven water heating.
Sediment buildup can also cause popping, rumbling, or banging noises within the tank due to trapped steam bubbles. In severe cases, sediment corrodes the tank’s interior or clogs the water inlet and outlet pipes, leading to leaks or reduced water flow. Regular flushing helps avoid these problems, extending the life of your water heater and maintaining water quality.
Preparing to Flush Your Water Heater
Before starting the flushing process, ensure you have the necessary tools and safety precautions:
- A garden hose long enough to reach a suitable drainage area
- A bucket or container (optional, for collecting water samples)
- Gloves and eye protection
- Adjustable wrench or pliers (if needed to open the drain valve)
Safety is paramount. Turn off your water heater to prevent damage and injury. For electric models, switch off the circuit breaker or disconnect the power supply. For gas models, turn the thermostat to "pilot" or completely shut off the gas supply to the heater.
Close the cold water supply valve feeding the heater to prevent new water from entering the tank during flushing.
Step-by-Step Guide: Flushing Sediment From Your Water Heater
Step 1: Attach a Garden Hose to the Drain Valve
Locate the drain valve near the bottom of the water heater tank. Attach one end of your garden hose to the valve, ensuring it is securely connected to prevent leaks. Run the hose to an appropriate drainage location that can safely accept hot water runoff, such as a floor drain, outdoor area, or large bucket.
Step 2: Open the Drain Valve and the Pressure Relief Valve
Open the drain valve slowly to begin emptying the tank. Opening the temperature and pressure relief valve at the top of the tank will let air in, allowing the water to drain smoothly and continuously.
Step 3: Drain the Water Heater Partially or Fully
Allow the water to drain out. For a thorough flush, completely drain the tank. If you only wish to perform partial maintenance, drain a few gallons to remove the most accessible sediment.
Step 4: Flush the Tank with Cold Water
Once drained, briefly open the cold water supply valve to let fresh water enter the tank. This flushes remaining sediment and debris from the bottom through the open drain valve. Continue this back-and-forth draining and refilling until the water runs clear, indicating that most sediment has been expelled.
Step 5: Close Valves and Refill the Tank
Close the drain valve and pressure relief valve securely. Remove the garden hose. Open the cold water supply valve fully to refill the tank. Leave a hot water faucet open to allow trapped air to escape until the tank is full and water flows smoothly.
Step 6: Restore Power or Gas Supply and Test
For electric heaters, restore power by switching the circuit breaker back on. For gas heaters, turn the gas valve back to the desired setting and relight the pilot light if necessary. Monitor the water heater for proper heating and inspect the drain valve area for leaks.
Regular Maintenance and Related Plumbing Tips
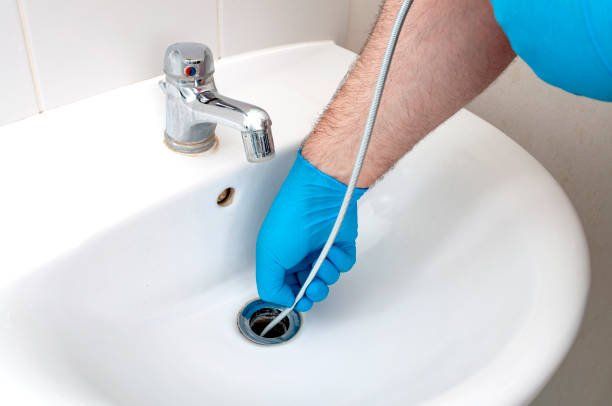
Flushing sediment every six months to a year is an effective routine to prolong your water heater's lifespan. Besides, be sure to monitor other household plumbing fixtures and drains. For example, addressing issues early can help prevent clogs in your laundry room drain, which, if left unattended, can create bigger plumbing problems.
If you notice persistent drainage issues or suspect malfunctions, especially with basement sump pumps that protect your home from flooding, timely sump pump repair is essential.
For comprehensive plumbing maintenance or if you encounter difficulties performing these tasks, seasoned professionals like All City Plumbers are ready to assist with expert service, from water heater care to drain cleaning and pump repairs.
Conclusion
Effectively flushing sediment from your water heater is a vital maintenance task that preserves your home’s hot water supply and energy efficiency. By following the steps of preparing, draining, flushing, refilling, and testing, you can maintain your system’s reliability and prevent costly damages. Regular maintenance, combined with attention to drainage and pump systems, ensures a healthier plumbing environment.
When in doubt or for more complex plumbing needs, rely on experienced technicians such as All City Plumbers to ensure the job is done safely and correctly, protecting your home and your investment.
This elaborate maintenance approach not only extends the lifespan of your water heater but also builds a foundation for a well-functioning home plumbing system.

