How to Permanently Fix a Leaky Water Heater Relief Valve?
A leaky water heater relief valve is a common but serious issue that can lead to water waste, system inefficiency, and potential damage to your water heater and surrounding areas. The temperature and pressure (T&P) relief valve is a critical safety component of your water heater designed to release excess pressure or temperature to prevent damage or explosion. When this valve starts leaking, it indicates an underlying problem that requires immediate attention.
This detailed article provides a professional and comprehensive guide on how to permanently fix a leaky water heater relief valve. We will walk you through the causes of the leak, inspection techniques, step-by-step replacement instructions, and important safety measures. Additionally, topics related to water heater maintenance such as how to fix a noisy water heater, when to replace faulty parts, and the role of professionals like All City Plumbers will be integrated throughout the discussion.
Understanding the Water Heater Relief Valve and Its Importance
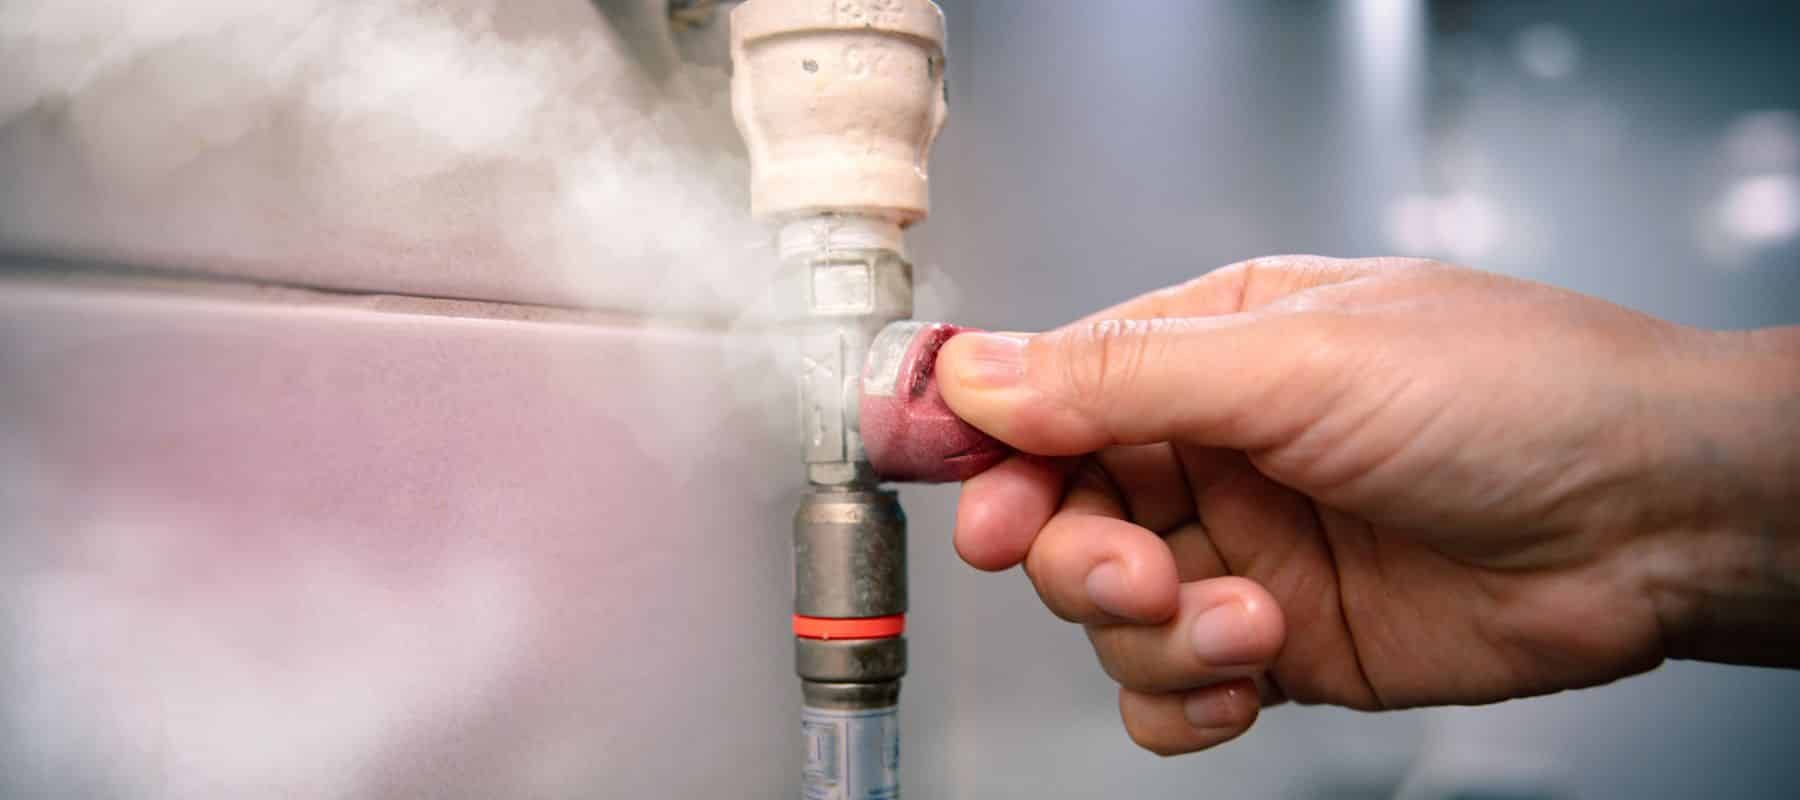
The water heater T&P relief valve acts as a safety vent that opens when pressure or temperature inside the heater exceeds safe levels. This prevents catastrophic failure by allowing hot water or steam to escape, reducing pressure inside the tank. It is specifically calibrated to open at a set pressure (usually 150 psi) or temperature (generally 210°F/99°C).
A leaking valve may be caused by several factors:
- Excessive pressure buildup inside the tank
- Improperly installed or malfunctioning valve
- Sediment buildup causing the valve to stick open
- Old or corroded valve parts losing seal integrity
- Thermal expansion of water leading to pressure spikes
Ignoring a leaking relief valve is dangerous and contributes to increased water bills, potential water damage, and a failing water heater.
Preliminary Inspection and Safety Precautions
Before attempting any repair or replacement, prioritize your safety. Working with a pressurized and heated water system demands care.
First:
- Turn off the power supply to the water heater. For electric models, switch off the breaker; for gas models, turn off the gas valve or set it to “pilot.”
- Shut off the cold water supply to the tank by closing the inlet valve.
- Drain water from the tank below the level of the relief valve—typically a few gallons—to reduce pressure. Attach a garden hose to the drain valve and direct the water to a safe drainage area or bucket.
- Allow the water heater to cool to prevent scalding injuries.
These steps minimize hazards during the repair and prevent water damage.
How to Permanently Fix a Leaky Water Heater Relief Valve
Step 1: Remove the Leaking Relief Valve
Using a suitable wrench, gently unscrew the existing relief valve counterclockwise. Expect residual water to drain from the valve opening. Be prepared with towels or a bucket to catch any spills. If the valve is stuck due to corrosion, apply penetrating oil and carefully ease it loose to avoid damaging the tank threads.
Step 2: Inspect the Valve and Surrounding Components
Examine the removed valve for wear, corrosion, sediment buildup, or mechanical damage. If the valve’s sealing mechanism is compromised, replacement is mandatory. Additionally, inspect the discharge pipe connected to the valve; it must be intact and clear of blockages.
Step 3: Prepare the New Relief Valve
Wrap the threads of the new valve with Teflon tape or appropriate pipe sealant to ensure a tight, leak-free fit. Make sure the valve you purchase is compatible with your water heater manufacturer’s specifications.
Step 4: Install the New Relief Valve
Carefully screw the new valve into the threaded opening on the tank hand-tight initially, then use a wrench to snug it securely—avoid over-tightening which can damage the tank or valve. Ensure the valve’s discharge outlet points downward to safely direct any released water.
Step 5: Reattach the Discharge Pipe
Reinstall the discharge pipe or replace it if damaged. This pipe should terminate no more than 6 inches above the floor or extend outside the building to prevent water damage during pressure releases.
Step 6: Refill and Restore Power
Close the drain valve, remove the garden hose, and open the cold water inlet slowly to refill the tank. Open a hot water faucet inside the house to allow air to escape and prevent pressure buildup during refilling. Once the tank is full, restore power or relight the gas burner.
Step 7: Test the New Relief Valve
Lift the release lever on the new valve slightly to test proper operation. Water should flow freely, then stop when the lever is released. Observe the area around the valve and discharge pipe for any leaks or drips. Confirm the valve seals tightly without continuous leaking.
Additional Maintenance Tips to Prevent Future Leaks
Regular water heater maintenance significantly reduces relief valve problems. Consider the following:
- Periodically exercise the relief valve by lifting its lever to prevent sediment buildup and keep the internal seal flexible.
- Regularly flush the tank to remove sediment from the bottom, preserving internal components.
- Inspect and maintain related components such as expansion tanks, which help absorb pressure spikes caused by thermal expansion, thereby reducing stress on the relief valve.
- If you hear strange noises or rattles, seek to fix a noisy water heater promptly to avoid damage to pressure components.
When to Call Professionals
Some water heater repairs require expert assistance. While replacing a faulty relief valve is accessible to many DIYers, certain conditions call for professional intervention:
- If the new relief valve continually leaks despite replacement.
- If there is evidence of corrosion or damage to the tank itself.
- When electrical or gas components of the water heater malfunction.
- If you’re uncomfortable handling plumbing or electrical safety procedures.
In these cases, licensed plumbers such as All City Plumbers offer reliable diagnosis, repair, and maintenance services to ensure your water heater operates safely and efficiently.
Conclusion
Permanently fixing a leaky water heater relief valve is essential for the safety, efficiency, and longevity of your water heater system. By carefully diagnosis, safely removing the old valve, and correctly installing a new one, you eliminate leaks that waste water and compromise your home. Incorporating regular maintenance practices—including inspecting expansion tanks and addressing noise issues—further protects your investment.
If you value your safety and want expert assurance, don’t hesitate to contact professional plumbing services like All City Plumbers. Their skilled technicians can quickly resolve relief valve problems along with broader water heater repairs, helping you maintain a dependable hot water supply.

