How To Properly Install A Water Softener System?
Hard water, which contains high levels of minerals like calcium and magnesium, can cause damage to plumbing systems, appliances, and negatively affect your skin and hair. Installing a water softener system is an effective way to combat these issues by removing these minerals and improving water quality throughout your home. Proper installation is key to ensure your water softener works efficiently and lasts longer.
This detailed guide walks you through how to properly install a water softener system, covering everything from preparation to final testing. In addition, we will integrate related home plumbing tasks such as how to install a new bathroom faucet, understand the importance of waterline repair and replacement, and when to seek professional help from industry experts like All City Plumbers.
Choosing the Right Location for Your Water Softener
Location is crucial for effective installation. Ideally, place the softener system at the main water entry point so that all water entering your home is treated. This location is often near the water meter or where the waterline first enters the home. Incorporating it close to your water heater inlet prolongs the lifespan of the heater since softer water reduces scale buildup inside the tank.
The installation site should be dry, level, and near a drain and electrical outlet because water softeners require power to operate their control valves and regeneration cycles. Accessibility for maintenance and salt refills is also important. Avoid placing the unit where low temperatures might cause freezing or where the system could disrupt daily activities.
Gathering Tools and Materials Needed
Before starting installation, collect all required tools and supplies to streamline the process:
- Pipe cutter and sanding materials
- Adjustable wrenches and pliers
- Slip joint pliers
- Teflon tape or plumber’s sealant
- Flexible water supply tubing or copper pipes with appropriate fittings
- Bypass valve (if not included with the system)
- Drain tubing and clamps
- Screwdrivers and measuring tape
Also, acquire the water softener unit along with its brine tank, control valve, resins, and associated hardware. Check manufacturer instructions carefully, as specific components can vary between brands.
Step-by-Step Installation Process
Step 1: Turn Off the Main Water Supply and Drain Lines
Start by shutting off the main water supply valve to your home to prevent flooding during installation. Open faucets around your home to drain residual water and reduce line pressure. This step is essential when performing waterline repair and replacement or plumbing upgrades.
Step 2: Install the Bypass Valve
Most water softeners come with a bypass valve that allows you to divert water flow around the softener if needed for maintenance or repair. If the valve isn’t pre-installed, follow the manufacturer’s instructions to attach it on the softener’s inlet and outlet ports carefully. The bypass valve is a critical safety and convenience component ensuring continuous water flow when the unit is offline.
Step 3: Cut into the Main Waterline and Prepare Plumbing Connections
Use a pipe cutter to cut a section of the main cold water supply pipe where the softener will be connected. Ensure the cut is clean and smooth to prevent leaks. Sand the edges and remove any burrs.
Attach fittings such as adapters or compression connectors that match your piping material (PEX, copper, or PVC). Flexible tubing is often recommended for easier maintenance and slight adjustments.
Step 4: Connect the Water Softener to the Water Supply
Attach the inlet and outlet ports of the softener unit to the corresponding fittings on your plumbing. Use Teflon tape on threaded connections to ensure airtight sealing. Make sure the inlet water flows into the correct port and exits through the outlet to avoid system malfunction.
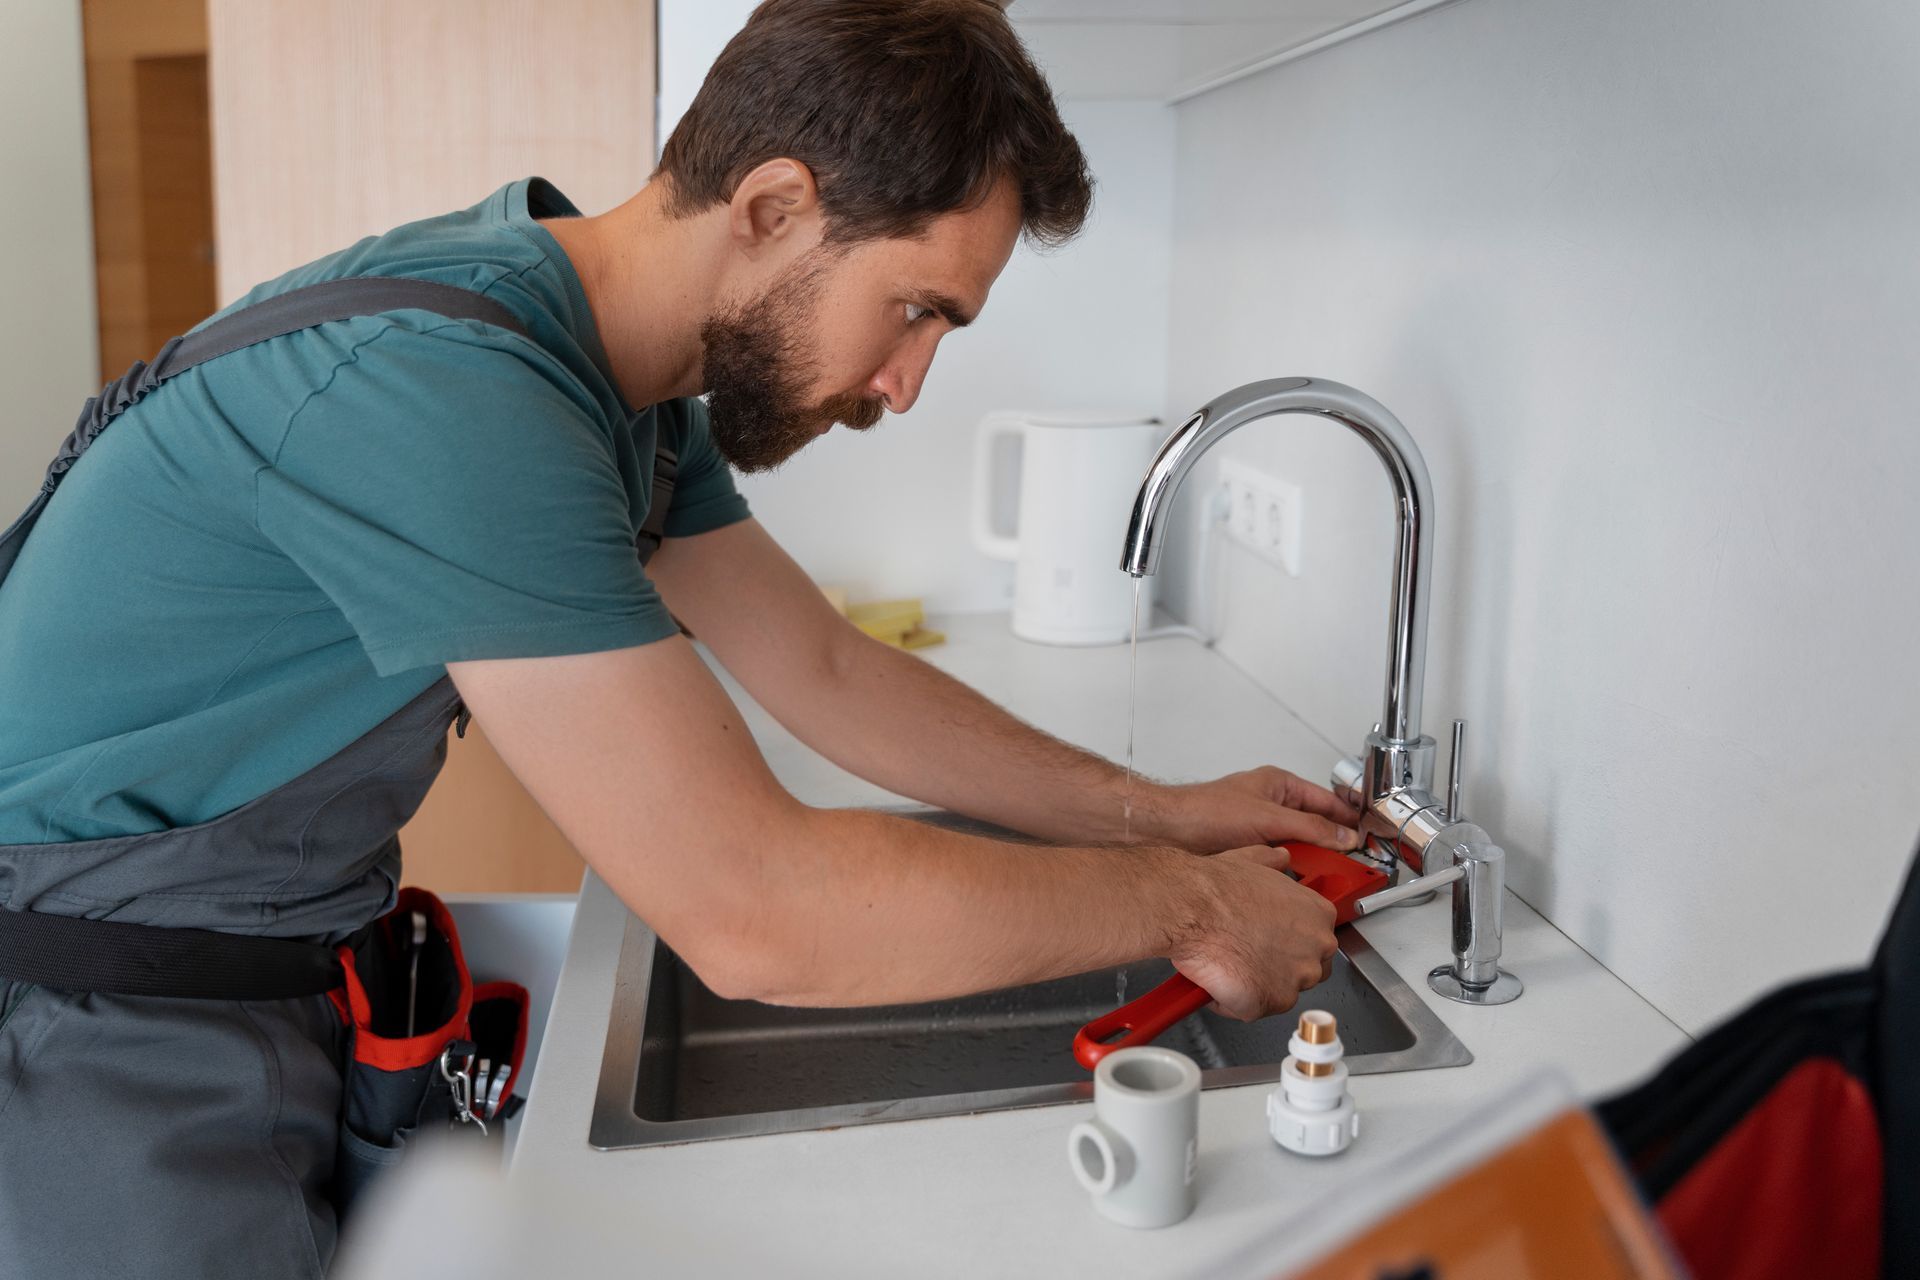
During this step, it is a good time to think about other home improvements. For example, homeowners upgrading their kitchen might simultaneously install a new bathroom faucet or schedule routine waterline repair and replacement to maintain optimal water pressure and quality.
Step 5: Connect the Drain Line
The water softener discharges waste brine and sediment during regeneration cycles. Connect the drain tubing securely to the softener’s drain port and route it to an appropriate drain line or standpipe. Ensure the drain hose is properly supported to avoid kinking or accidental disconnection.
Check local plumbing codes to see if an install of an air gap fitting is required to prevent backflow into the water softener.
Step 6: Connect Brine Tank and Brine Line
Fill the brine tank with the appropriate softening salt (typically pellet or crystal salt). Attach the brine line from the tank to the water softener valve per manufacturer instructions. This line is crucial for permitting the salty water solution to regenerate the resin beads inside the softener to maintain effective softening.
Step 7: Plug in the Water Softener Control and Program Settings
Connect your system to a properly grounded electrical outlet to power its control head. Program the regeneration cycle, hardness level, and time settings based on your water quality and household usage. Follow the user manual to configure these parameters accurately.
Step 8: Turn On Water Supply and Test for Leaks
Slowly open the main water supply valve while watching for leaks at all connection points. Open a nearby faucet and allow the system to fill, releasing trapped air from the line. Check the bypass valve position and ensure the water flows through the softener and not bypassed unintentionally.
Step 9: Initiate First Regeneration Cycle
Start an initial regeneration manually to flush the system and ensure the resin is properly conditioned. Observe the system’s operation—listen for water flow sounds and verify no unusual noises or leaks.
Professional Tips and Maintenance Recommendations
While many homeowners successfully install water softeners, complex plumbing systems or aged pipes might require professional expertise. Whether troubleshooting issues with water pressure or undertaking waterline repair and replacement, licensed plumbers ensure safe and code-compliant installations. Trusted companies like All City Plumbers offer installation, maintenance, and repair services for water softeners and other home plumbing systems.
Regularly check salt levels in the brine tank, clean the resin tank as needed, and inspect for clogs or leaks. Seasonal maintenance, along with monitoring your water heater and related appliances, ensures your entire water system functions efficiently.
Conclusion
Properly installing a water softener system involves meticulous preparation, accurate plumbing connections, and following manufacturer guidelines precisely. By placing the system near your home’s water entry point and incorporating well-chosen components like bypass valves and drain lines, you can enjoy the benefits of softened water for years.
Combining this installation with related home upgrades such as installing new faucets or performing waterline upkeep will maximize your home's water quality and longevity. For those seeking expert intervention or ongoing plumbing support, professionals such as All City Plumbers provide reliable service and technical knowledge.
Taking the time to properly install your water softener not only protects your plumbing infrastructure but also offers cleaner, gentler water for your household daily use.

