How to Fix a Leaking Pipe With a Slip-Fix Coupling?
A leaking pipe can quickly escalate from a minor inconvenience into a significant home damage issue if left unaddressed. The slip-fix coupling offers a reliable, permanent solution for repairing damaged sections of PVC or ABS pipe without requiring access to both ends of the line. This telescoping expansion coupling is especially valuable for buried irrigation lines, constrained spaces, or situations where traditional repair methods fall short. By following a systematic repair process, homeowners can restore their plumbing system's integrity and prevent future water loss.
Understanding the Slip-Fix Coupling and Its Advantages
The slip-fix coupling, also known as an expansion coupling or slip joint repair coupling, features a unique telescoping design that allows it to expand and contract during installation. Unlike standard slip couplings that require sliding onto one pipe end before connecting to the other, the slip-fix can be compressed to fit over a single pipe section and then expanded to bridge the gap created by cutting out damaged pipe. This design eliminates the need for precise measurements and accommodates slight misalignments that often occur during emergency repairs.
The coupling includes two pressure-rated piston ends with integrated O-rings that create watertight seals when solvent cement is applied. When properly installed, the slip-fix provides a permanent repair that matches the durability of the original pipe. Its flexibility also allows it to absorb minor ground shifts or temperature-related expansion without cracking, making it ideal for outdoor irrigation systems and basement plumbing where environmental conditions vary.
Step One: Locating and Isolating the Leak
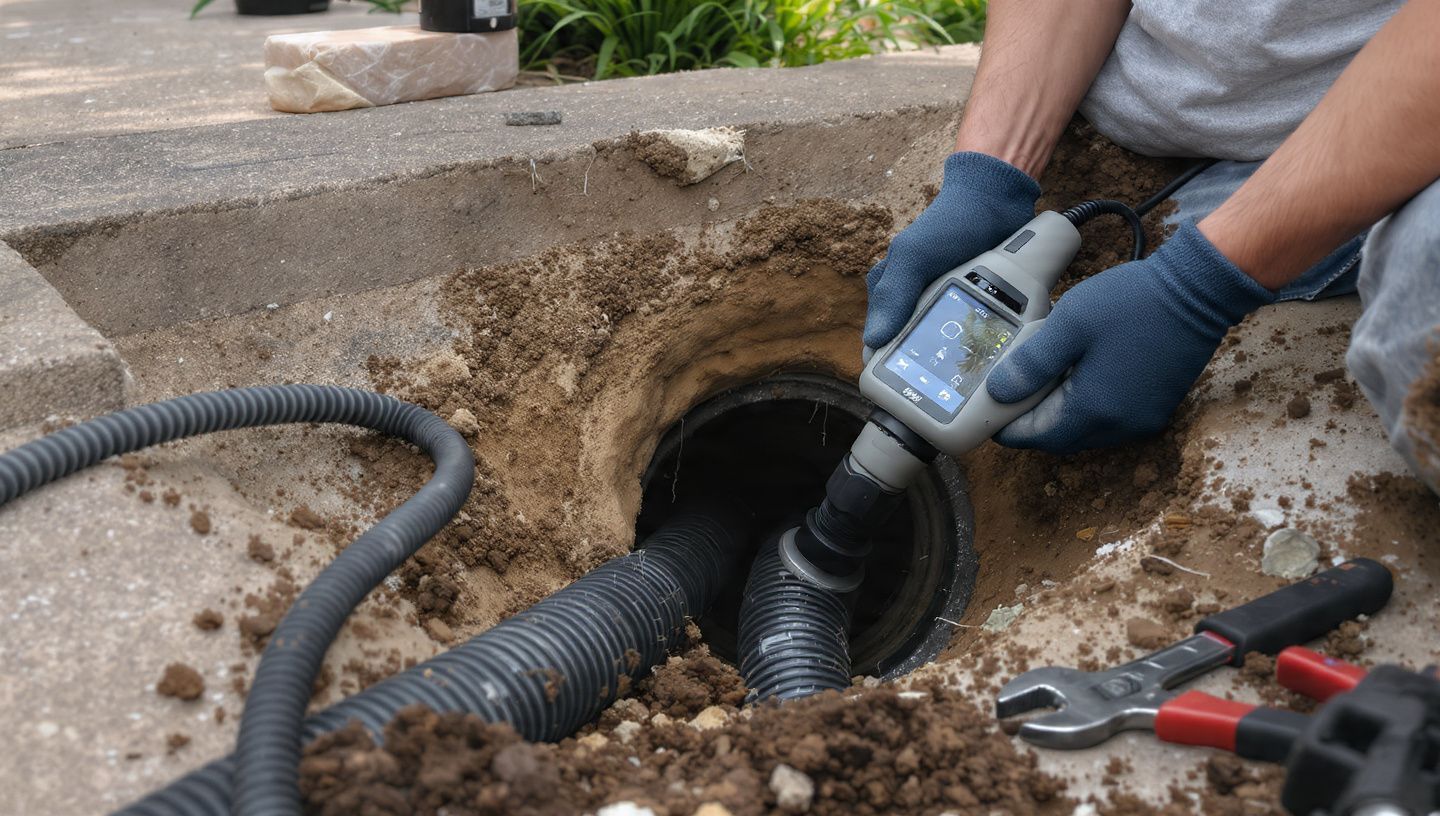
The first critical step in any pipe repair is identifying the exact location of the leak and completely isolating the water supply to prevent further damage. Begin by tracing visible water stains, damp spots, or listening for the sound of running water within otherwise quiet plumbing. For buried irrigation lines, look for unusually lush patches of grass, soggy soil, or decreased water pressure at downstream fixtures. Once the leak is located, mark the area clearly to guide your cutting and repair work.
Immediately shut off the main water supply to your home by turning the dial clockwise at the main valve, typically located in the basement, crawl space, or near the water meter. If the main valve cannot be manually shut off, contact your water company to request they shut off the supply for you. Next, drain the affected pipe section by opening the lowest faucet in your home, such as an outdoor hose spigot or basement sink, and allowing water to run until the pipe is empty. This step minimizes residual water pressure and prevents unexpected spraying when you cut into the pipe.
For emergencies where immediate professional assistance is needed, many homeowners turn to services like All City Plumbers, which provides rapid emergency services for severe leaks that threaten structural integrity or pose safety hazards. These professionals can assess the situation, provide temporary containment, and recommend the appropriate permanent repair method. However, for accessible leaks where you have the necessary tools and confidence, a DIY repair with a slip-fix coupling can resolve the issue efficiently and cost-effectively.
Step Two: Preparing the Pipe for Cutting
Once the water supply is isolated and the pipe is drained, prepare the area around the leak for precise cutting. Use a dry cloth to wipe the pipe section completely dry, ensuring the surface is free of moisture, dirt, and debris that could interfere with your marks or the eventual cement seal. Place a bucket or cloth underneath the leak to catch any stray drops that may emerge during preparation. If working in a confined space, consider using a small flashlight to improve visibility and ensure accurate measurements.
Measure the slip-fix coupling against the leaky area to determine the exact cutting points. Hold the coupling centered over the damaged section so it extends equally on both sides, then use a marker to draw clear lines on the pipe at each edge of the coupling. These lines indicate where you will cut, ensuring the slip-fix will fit properly without being too tight or too loose. It is important to mark one inch inside each line to account for the coupling's insertion depth, which allows the piston ends to seat fully when cement is applied.
Step Three: Cutting Out the Damaged Section
With your cutting marks clearly established, use a pipe cutter to remove the damaged section of the pipe. Pipe cutters are handheld devices that slice cleanly through PVC or ABS pipe as you rotate them around the circumference. Position the cutter's edge one inch inside your first marked line, tighten the screw at the bottom of the device, and rotate the cutter completely around the pipe. Continue tightening and rotating until the cutter makes a clean, straight cut through the pipe. Repeat this process one inch inside the second marked line on the opposite side of the damage.
Straight, clean cuts are essential for a successful repair because uneven edges prevent the coupling's piston ends from seating properly and can create weak points that lead to future leaks. After cutting, inspect both pipe ends to ensure they are smooth and free of jagged edges. If any irregularities remain, use a deburring tool or fine file to smooth the cuts before proceeding.
Step Four: Deburring and Cleaning the Pipe Ends
After cutting out the damaged section, the inside and outside edges of the pipe will likely have small burrs or rough spots that must be removed for a proper seal. Hold the pipe steady with your nondominant hand and set the blade edge of a deburring tool inside the pipe. Scrape around the inside circumference to remove any inward-facing burrs, then remove the tool and scrape the outside edge to eliminate outward-facing roughness. This step reshapes the pipe ends and creates the smooth surface necessary for solvent cement to bond effectively.
Once deburred, clean both pipe ends thoroughly using a dry cloth to remove any remaining dust, debris, or water residue. For PVC pipes, it is also recommended to lightly sand the outer surface where the cement will be applied to improve adhesion. The pipe must be completely clean and dry before applying primer and solvent cement, as moisture or dirt can prevent the chemical bonding process and compromise the repair's integrity.
Step Five: Installing the Coupling and Applying Solvent Cement
Begin the installation by sliding the slip-fix coupling onto one side of the cut pipe. Push the coupling onto the pipe far enough so that you can align the other piston end with the opposite pipe section. Before applying cement, compress the slip-fix into its smallest position to make installation easier. Once the coupling is positioned over both pipe ends, you will apply primer and solvent cement in a specific sequence to ensure proper bonding.
First, apply PVC primer to both the slip coupling's piston end and the exposed pipe end on the first side. The primer cleans and softens the plastic surface, preparing it for the solvent cement. Next, apply solvent cement to both the primed coupling interior and the primed pipe exterior. Push the coupling into the pipe until it seats fully, give it a quarter turn to distribute the cement evenly, and hold it in place for several seconds to prevent pushing back out. Wipe off any excess cement that flows beyond the joint.
Repeat the priming and cementing process on the opposite side of the coupling. Apply primer to the second piston end and the corresponding pipe end, then apply solvent cement to both surfaces. As you push the pipe into the coupling, you may need to expand the slip-fix piston by pulling the sleeve outward to complete the connection. Once both sides are seated, hold each joint for a few seconds to ensure the cement bonds properly. Allow the solvent cement to cure according to the manufacturer's instructions, typically 15 to 30 minutes for initial set and up to 2 hours for full strength.
Step Six: Testing the Repair and Restoring Water Flow
After the solvent cement has fully cured, the repair is ready for testing. Slowly turn the main water supply back on by rotating the valve counter-clockwise, then monitor the newly installed slip-fix coupling closely for any signs of leakage. Check both joints where the coupling connects to the pipe, as well as the expanded section in the middle. If you observe any water seeping out, immediately shut off the water again and allow additional curing time before retesting. Small drips that appear immediately may indicate insufficient curing time, while persistent leaks suggest the joint did not seat properly and may require replacement of the coupling.
Once no leaks are detected after several minutes of water flow, flush out your lines to remove any debris that may have entered the system during the repair process. Open downstream faucets briefly to clear out any particles, then inspect the surrounding area for remaining moisture. If the repair was on an irrigation line, backfill the excavation carefully and restore the landscape. For indoor plumbing, ensure the area is dry and properly ventilated to prevent mold growth.
Temporary Patching Methods When Immediate Repair Is Not Possible
In some situations, you may need to apply a temporary patch before a permanent slip-fix repair can be completed. Epoxy putty is a common temporary solution that heats up as you knead it and creates a watertight seal over small leaks. To apply epoxy putty, wear latex or nitrile gloves to protect your skin, then mix the putty by hand until it achieves a consistent light gray color. Wrap the putty around the leaky area, forming a layer approximately half an inch thick, and taper the edges onto the pipe to create a watertight seal. Let the putty set for 5 to 10 minutes before turning the water back on.
Self-fusing silicone rescue tape is another temporary option that bonds to itself without adhesive, creating a flexible seal over small cracks or pinhole leaks. Fiberglass pipe repair kits and epoxy patch repair kits provide more substantial temporary coverage for larger damaged areas. While these methods can stop water loss temporarily, they are not permanent solutions and should be followed by a proper repair like a slip-fix coupling soon after. Remember to call a professional plumber after applying any temporary fix, as these methods are intended only to prevent immediate damage until a permanent solution is implemented.
Long-Term Maintenance and Preventive Care
Establishing a routine maintenance schedule is essential for preventing future pipe leaks and ensuring your plumbing system remains reliable for years. Regularly inspect visible pipes for signs of corrosion, minor leaks, or wear, particularly in areas exposed to temperature fluctuations or moisture. Pay attention to pipe joints and connections, as these are common failure points. For outdoor irrigation systems, check the system at the beginning of each watering season and after any severe weather events that might cause ground shifts or physical damage.
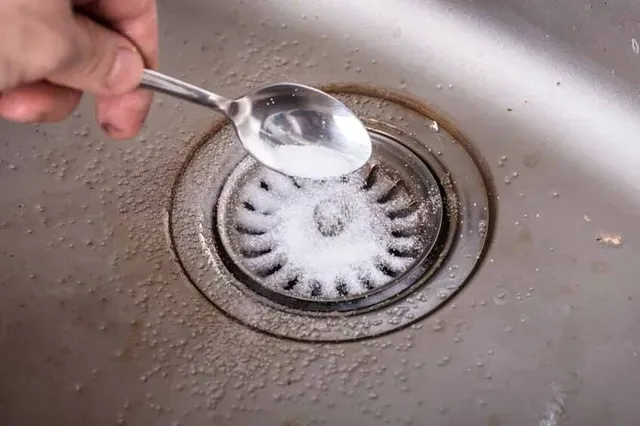
Proper drain cleaning plays a crucial role in overall plumbing health, and understanding how drain cleaning protects your home's waterline can prevent many common issues. Regular drain cleaning removes accumulated debris, grease, and mineral buildup that can restrict water flow and increase pressure within pipes. Elevated pressure stresses pipe joints and increases the likelihood of leaks or bursts. By maintaining clean drains, you reduce the strain on your entire plumbing system and extend the lifespan of your pipes, including newly repaired sections with slip-fix couplings.
Consider installing water pressure regulators if your home experiences consistently high-water pressure, as pressures above 80 psi can accelerate pipe deterioration. For older homes with aging plumbing, evaluate whether partial or complete system replacement may be more cost-effective than repeated repairs. Additionally, during cold winters, insulate exposed pipes and allow faucets to drip slightly during extreme temperature drops to prevent freezing and cracking.
When to Seek Professional Plumbing Assistance
While slip-fix coupling repairs are designed for DIY implementation, certain situations warrant professional expertise. If the leak is located in a buried pipe that requires extensive excavation, a professional plumber can minimize landscape damage and ensure proper backfilling. Complex plumbing configurations, such as those involving multiple pipe materials, unusual angles, or constrained access points, may require specialized tools and techniques that exceed typical DIY capabilities. Additionally, if you attempt a repair and continue experiencing leaks, low pressure, or unusual noises, professional diagnosis can identify underlying issues that simple patching cannot resolve.
Professional plumbers also provide value through comprehensive system assessments that identify potential problems before they become emergencies. They can recommend upgrades such as pressure regulators, improved ventilation, or modern pipe materials that enhance overall system reliability. For homeowners who lack the necessary tools, time, or confidence to perform repairs themselves, hiring a professional ensures the job is completed correctly and safely, often with warranties that protect against future failures.
Conclusion
Fixing a leaking pipe with a slip-fix coupling is a practical, cost-effective solution that restores plumbing integrity without requiring extensive expertise or specialized equipment. The telescoping design of the slip-fix eliminates the need for precise measurements and access to both pipe ends, making it ideal for challenging repair scenarios. By following the systematic process of leak isolation, proper cutting, thorough deburring, correct cement application, and careful testing, homeowners can achieve a permanent repair that matches the durability of their original plumbing system.
Regular maintenance, proactive drain cleaning, and timely professional intervention, when necessary, form the foundation of long-term plumbing health. Understanding how drain cleaning protects your home's waterline empowers homeowners to prevent many common issues before they escalate. Whether you choose to perform the repair yourself or call on professionals like All City Plumbers for emergency services, addressing pipe leaks promptly protects your home from water damage and ensures your plumbing system continues functioning reliably for years to come.