How to Install a Water Softener Bypass Valve Properly?
Installing a water softener bypass valve is an important upgrade that improves the flexibility, efficiency, and serviceability of your home's water treatment system. The bypass valve acts as a control point that allows water to flow around the water softener whenever maintenance, repairs, or troubleshooting are required. Without a bypass valve, homeowners often need to shut off the main water supply to perform even basic servicing tasks, disrupting water access throughout the entire property. By providing a simple way to isolate the softener while maintaining water flow to faucets, showers, and appliances, a bypass valve helps minimize inconvenience and keeps your household running smoothly.
A properly installed bypass valve also plays a key role in extending the lifespan of your water softener and simplifying routine maintenance. Tasks such as adding salt, cleaning resin tanks, flushing the system, replacing components, or diagnosing operational issues become much easier when the softener can be temporarily removed from service without affecting the rest of the plumbing system. In emergency situations, such as leaks or equipment malfunctions, the bypass valve allows for quick isolation of the unit while preserving access to water throughout the home. This guide provides a comprehensive, step-by-step approach to installing a water softener bypass valve correctly, covering preparation, water shutoff procedures, connection methods, leak testing, and ongoing maintenance best practices to ensure reliable long-term performance.
Understanding the Purpose and Function of a Bypass Valve
A water softener bypass valve is a three-port plumbing fixture that controls water flow between your home's main supply and the water softener system. The valve features an inlet port connected to the main water supply, an outlet port connected to the softener, and a bypass port that allows water to flow directly to your home's plumbing without passing through the softener. When the bypass is engaged, water skips the softening process entirely, delivering unsoftened hard water to your fixtures. This is essential during softener maintenance, salt depletion, or when hard water is preferable for specific tasks like watering gardens.
The bypass valve typically operates via a push-in handle or a rotating knob that shifts an internal piston to redirect water flow. In the service position, the handle is pulled out, allowing water to flow from the inlet through the softener and back to the outlet. In the bypass position, the handle is pushed in toward the center, closing the path to the softener and opening the bypass port. Understanding this mechanism helps ensure proper installation and operation, preventing confusion when you need to switch between service and bypass modes.
Gathering Necessary Tools and Materials Before Installation
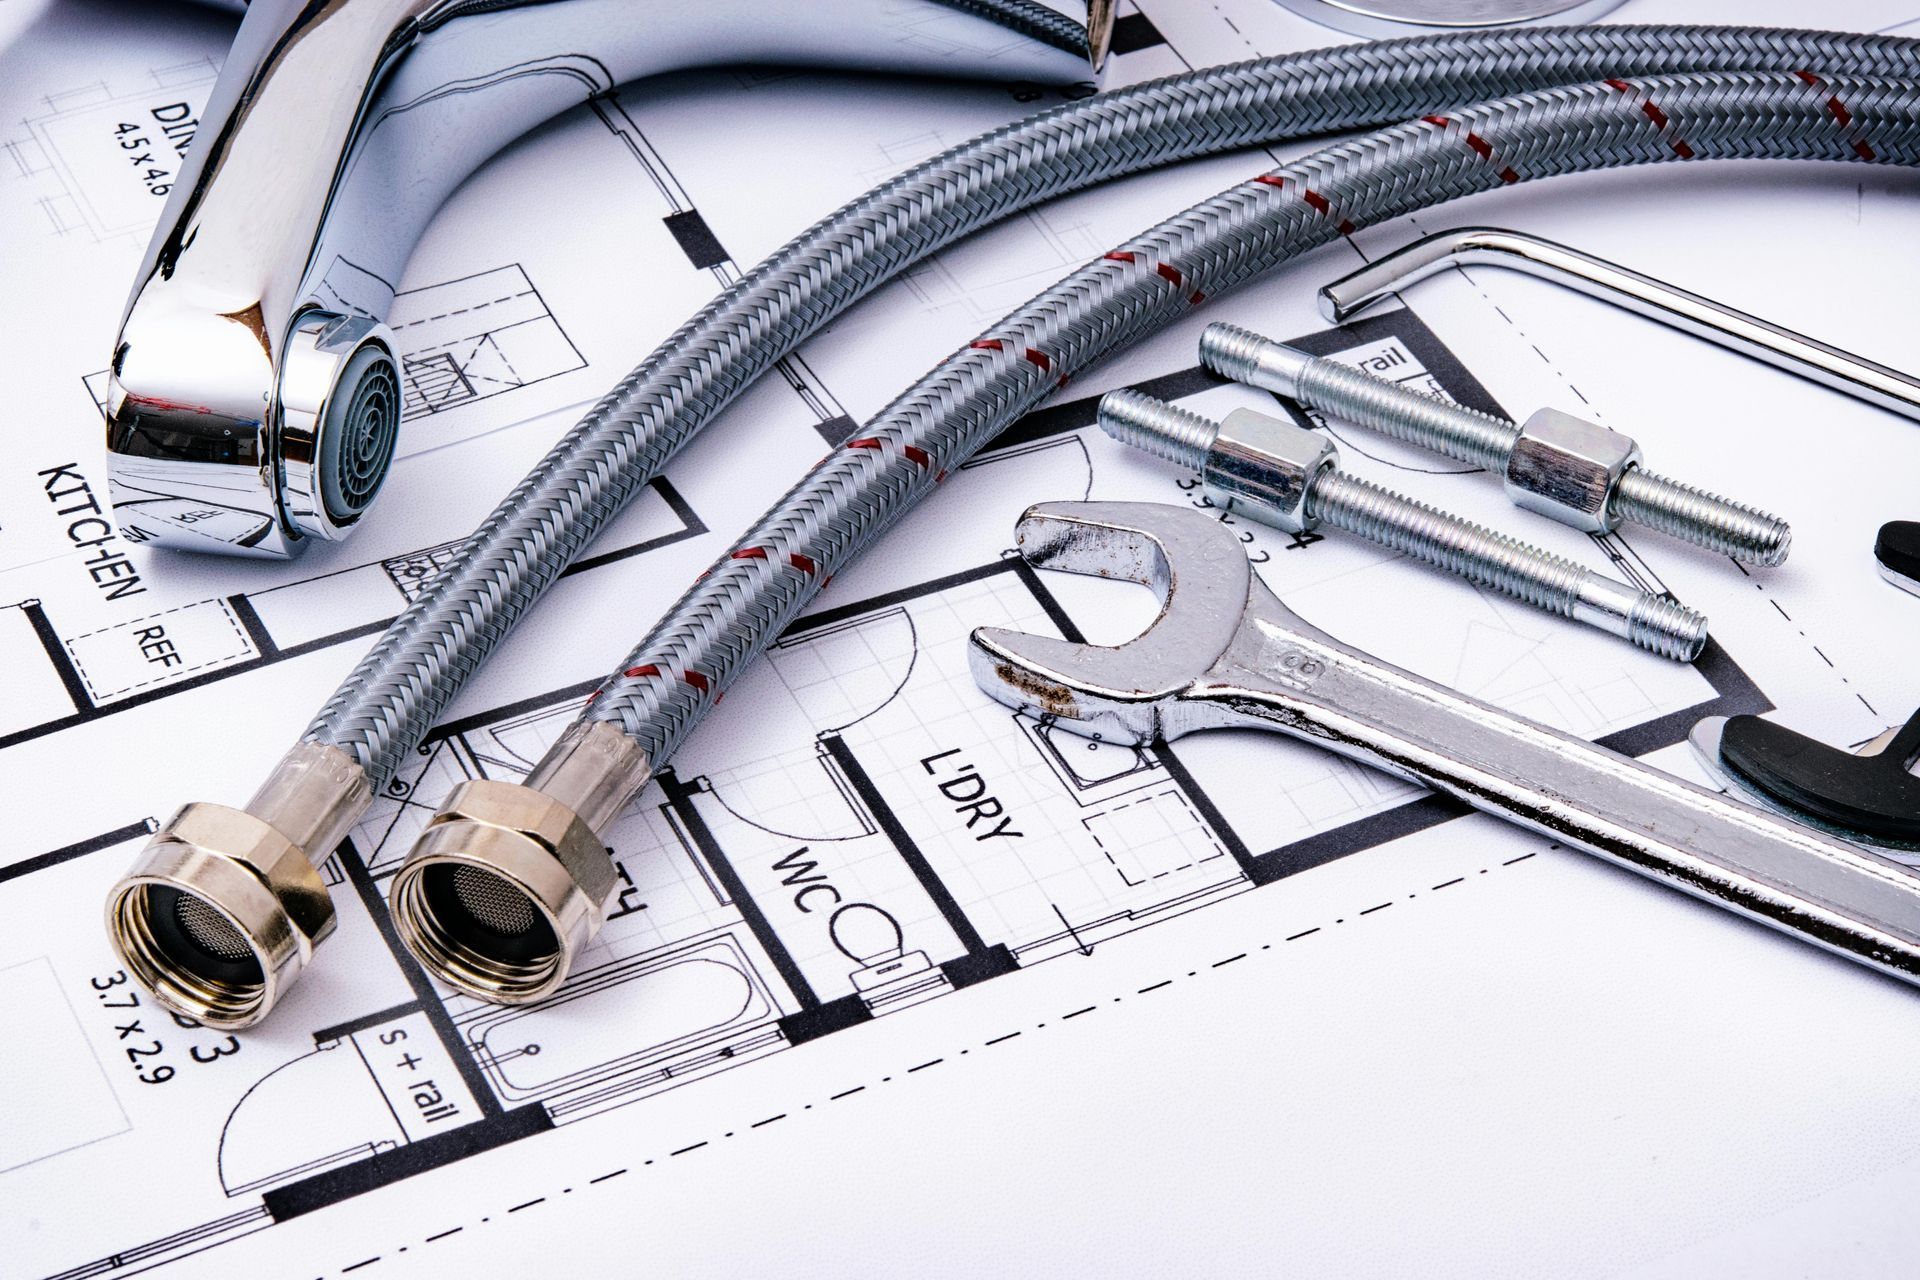
Before beginning the installation, gather all required tools and materials to ensure a smooth, efficient process. You will need a pipe wrench or adjustable wrench for tightening connections, pipe cutter or hacksaw if you need to trim existing pipes, Teflon tape or pipe thread sealant for sealing threaded connections, silicone-based lubricant for O-rings on the bypass valve, a bucket or towel to catch residual water, and the bypass valve itself, which should match your water softener's inlet and outlet pipe size, typically 3/4 inch or 1 inch.
Additional materials may include UNION joints for easier future removal of the softener, C-clips if your softener uses quick-connect fittings, and flexible water lines if your existing plumbing requires adaptation. Ensure the bypass valve is compatible with your water softener model and that all components are rated for the water pressure and temperature in your home. Having everything ready before starting prevents interruptions and ensures you can complete the installation in one continuous session.
Locating the Ideal Installation Position for the Bypass Valve
The bypass valve should be installed as close to the water softener as possible, typically between the main water supply inlet and the softener's inlet port, and between the softener's outlet port and your home's plumbing distribution. This placement allows you to isolate the entire softener unit without affecting other plumbing components. If your softener already has built-in bypass valves integrated into the control head, you may not need to install an external bypass. However, many older or basic models lack this feature, making an external bypass valve essential for convenient maintenance.
`Measure the distance between your main water supply line and the softener inlet, as well as between the softener outlet and the distribution line, to determine the exact piping length needed. Ensure there is adequate clearance around the installation site for operating the bypass handle and accessing the valve for future maintenance. The installation location should also be level and stable, as uneven surfaces can cause C-clips to stick or prevent proper sealing of O-rings. If the area is cramped, consider repositioning the softener slightly to create more working space.
Preparing the Water System and Depressurizing the Unit
Before cutting or disconnecting any pipes, it is critical to depressurize the water system to prevent unexpected water spray and ensure safe working conditions. Start by bypassing the water softener if it already has built-in bypass capability by pushing the handle in on the back of the unit. This stops water flow while you work on the system. Next, depressurize the unit by running a recharge or regeneration cycle. Hold the recharge button until you hear the motor start to spin, then release it. You will see "Recharge Now" or "Recharging" flashing on the screen.
To speed up the cycle and fully depressurize the system, press the recharge button once each time the motor stops spinning. Repeat this until the "Recharge Now" or "Recharging" message disappears from the screen. Once the system is depressurized, unplug the power cord from the outlet and set it aside. Go to your main water supply valve and turn it off completely. Then, turn on a faucet at the highest point in the house, such as an upstairs bathroom sink, and a faucet at the lowest point, such as a basement laundry sink, and let them run until empty. This drains residual water from the pipes and ensures the system is fully depressurized before you begin cutting or disconnecting.
Cutting and Preparing the Existing Plumbing Lines
With the system depressurized and water drained, locate the inlet and outlet pipes connected to your water softener. On pipes with quick-connect fittings, remove the black C-clips by gently pulling one side of the clip away from the softener and slowly rolling it toward the other side to remove it. If the clips are stuck because the system is not completely level, slowly and gently rock the softener back and forth slightly while applying pressure to the C-clip to free it. Once the C-clips are off, you can pull the softener away from the bypass assembly slightly to access the plumbing connections.
If your system uses threaded or soldered connections instead of quick-connect fittings, use a pipe wrench to unscrew the inlet and outlet plumbing connections from the existing valve or softener ports. If the pipes need to be trimmed to fit the new bypass valve, use a pipe cutter to make clean, straight cuts one inch inside your marked positions. Ensure cuts are smooth and free of burrs, as uneven edges prevent proper sealing. After cutting, use a deburring tool to smooth both the inside and outside edges of the pipe, then clean the pipe surfaces thoroughly with a dry cloth to remove dust, debris, and moisture.
Installing the New Bypass Valve and Connecting Plumbing
Begin the installation by generously lubricating the O-rings on your new bypass valve with a silicone-based lubricant. This step is essential for creating a watertight seal and preventing the O-rings from tearing during installation. Connect your new bypass valve to the plumbing by screwing your inlet plumbing onto the inlet port threads and your outlet plumbing onto the outlet port threads. If using threaded connections, wrap Teflon tape around the threads in the direction of tightening before attaching, or apply pipe thread sealant to ensure a secure, leak-free connection.
For systems with quick-connect fittings, push the softener onto the bypass assembly and secure with the black C-clips. Confirm all three teeth on the C-clips are fully engaged and clipped in properly. Before completing the connection, verify that the bypass valve handle is in the "bypass" position, pushed in toward the center. This ensures water flows through the bypass port and not through the softener while you test the installation. If you are installing UNION joints for future convenience, connect them between the bypass valve and the softener ports, ensuring they are properly aligned and tightened.
Testing for Leaks and Verifying Proper Operation
Once the bypass valve is installed and all connections are secured, begin testing for leaks. Open two or more softened, cold water faucets in your home to allow air to escape from the system. Slowly open the main water supply valve, allowing water to flow back into the pipes. Run water at those faucets until there is a steady flow with no air bubbles, which indicates the system is fully pressurized. After a few minutes, slowly take the softener off bypass by pulling the handle out to the service position, allowing water into the softener system.
Open a few hot water taps and allow them to run smoothly to clear any remaining air from the hot water lines. Close all faucets and check the softener and bypass valve for any leaks at the plumbing connections. Inspect the inlet and outlet ports, the bypass port, and all threaded or quick-connect fittings. If there are any signs of leaking, depressurize the unit by repeating the depressurization steps before removing any clips or attempting to fix the leak. Common leak causes include insufficient O-ring lubrication, improperly tightened connections, or damaged O-rings that need replacement.
Once no leaks are detected, plug the power cord back into the outlet and restore power to the water softener. Verify that the bypass valve operates correctly by switching between bypass and service positions multiple times. In bypass mode, water should flow directly to your home without passing through the softener. In service mode, water should flow through the softener for treatment. Check that the handle moves smoothly and locks securely in each position. If the handle feels stiff or does not lock properly, the internal piston may be misaligned or the O-rings may need additional lubrication.
Leak Isolation and Emergency Shut-Off Procedures
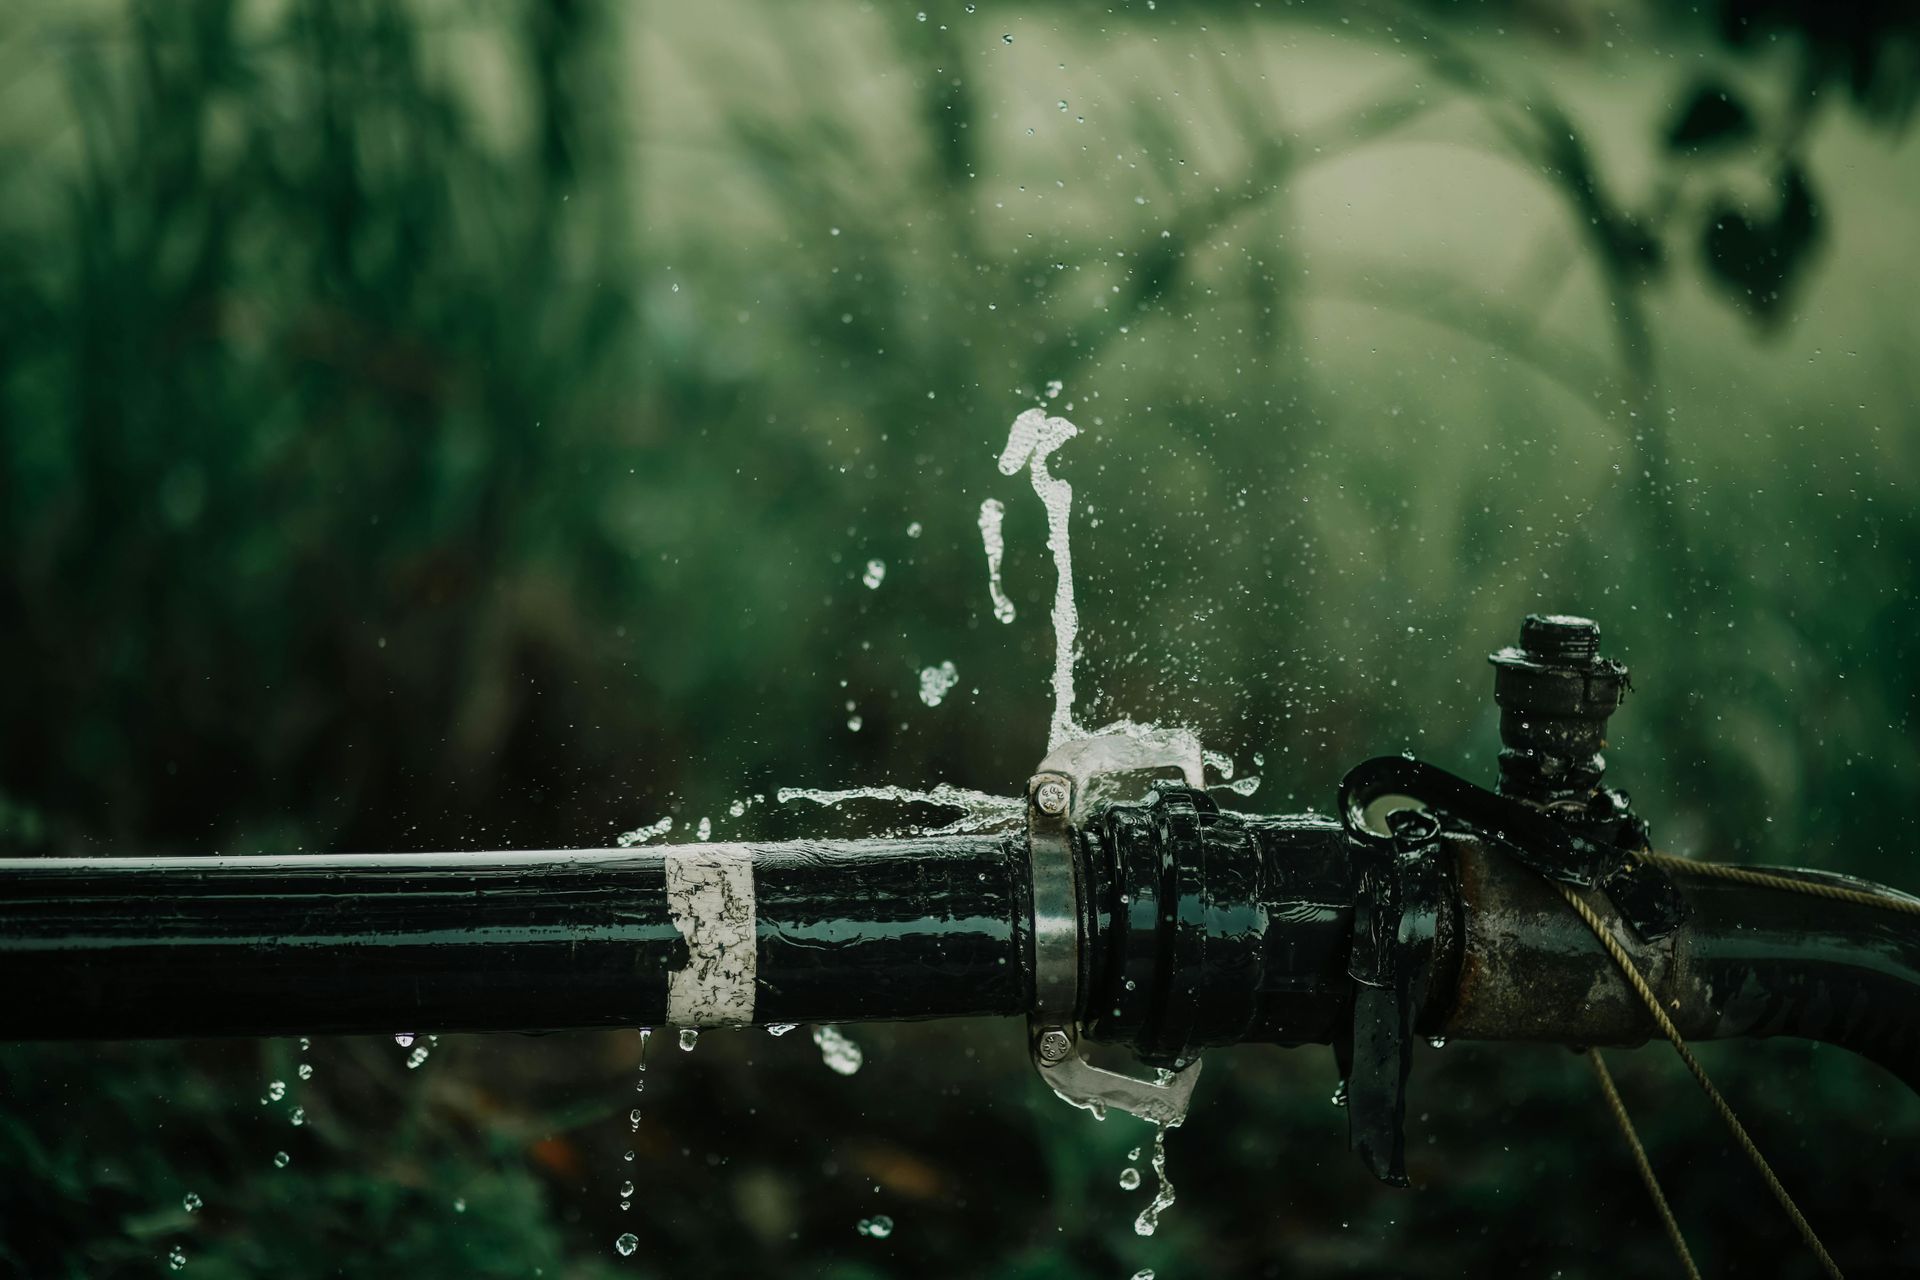
In the event of a leak after installation or during future use, immediate leak isolation is critical to prevent water damage. If you notice water spraying or pooling around the bypass valve or softener connections, first push the bypass valve handle in to engage bypass mode and stop water flow through the softener. If the leak persists or is severe, shut off the main water supply valve to your home by turning it clockwise. This prevents further water from entering the system and limits damage.
Open faucets at the highest and lowest points in the house to drain residual water from the pipes and reduce pressure on the leaking connection. Place a bucket or towel under the leak to catch dripping water and prevent it from spreading to flooring or electrical components. If the leak is at a threaded connection, you may attempt to tighten it slightly with a pipe wrench, but do not overtighten, as this can damage threads or crack fittings. For quick-connect fittings with C-clips, ensure the clips are fully engaged and the softener is properly seated on the bypass assembly.
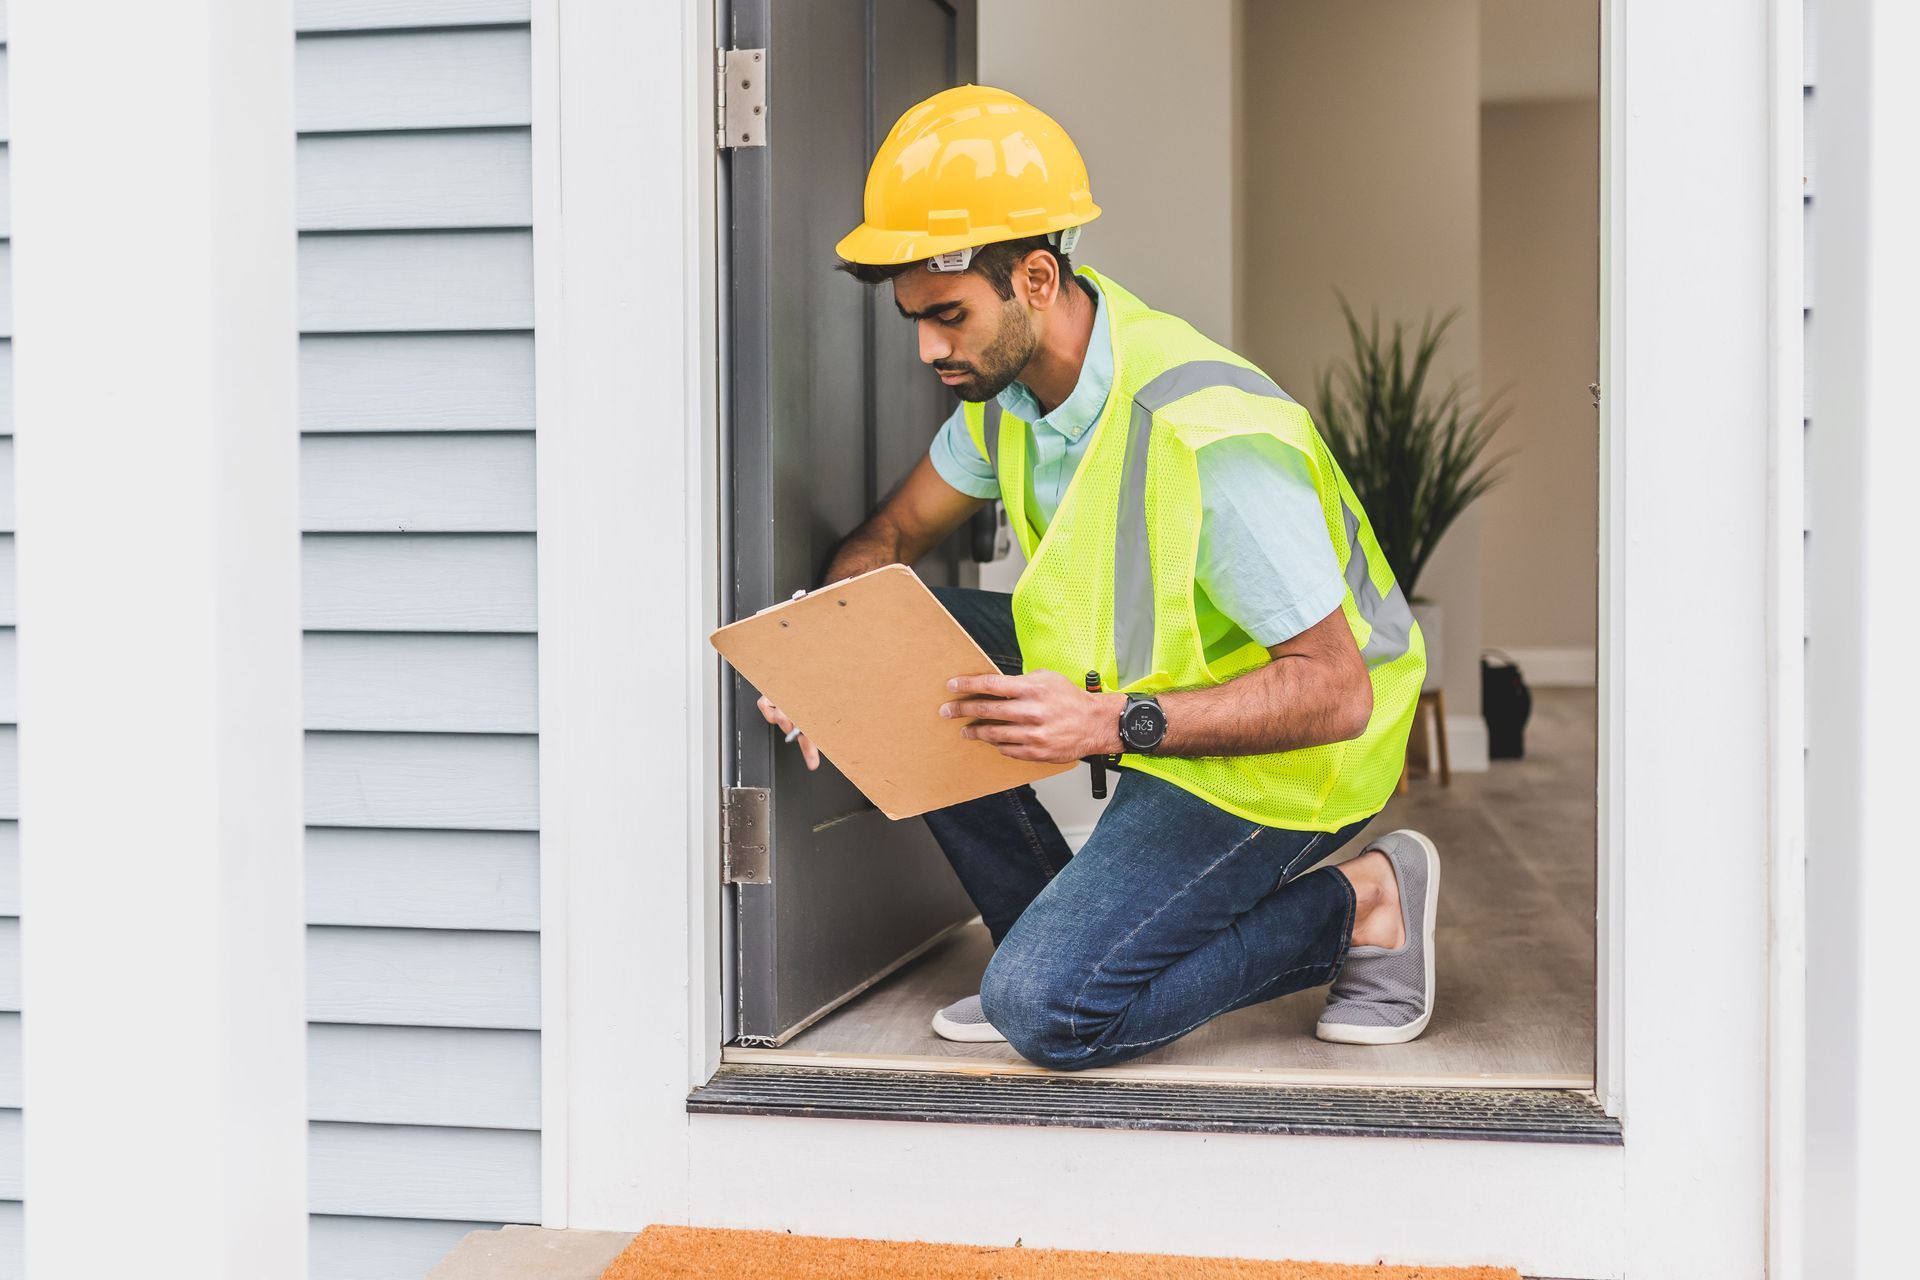
If you are unable to stop the leak or if it poses a safety risk, contact professional plumbers from All City Plumbers, who provide emergency services for severe plumbing issues. Professional plumbers can quickly diagnose the problem, replace damaged components, and ensure the system is properly sealed and operational. Having a professional evaluate your installation after an emergency leak can also prevent future issues and ensure the bypass valve is functioning correctly.
Temporary Patching Methods for Minor Leaks
While permanent repairs should always be performed for significant leaks, temporary patching methods can provide immediate relief for minor leaks until professional assistance is available. For small leaks at threaded connections, apply additional Teflon tape or pipe thread sealant around the threads, then tighten the connection slightly. This can sometimes stop minor seeping without requiring complete disassembly. For leaks at O-ring seals, apply additional silicone-based lubricant to the O-ring, which can help it expand and create a tighter seal.
Epoxy putty is another temporary solution for small pipe leaks or cracks near the bypass valve. Wear latex or nitrile gloves to protect your skin, then mix the epoxy putty by hand until it achieves a consistent light gray color. Wrap the putty around the leaky area, forming a layer approximately half an inch thick, and taper the edges onto the pipe to create a watertight seal. Let the putty set for 5 to 10 minutes before turning the water back on. Self-fusing silicone rescue tape can also be wrapped around small cracks or pinhole leaks, bonding to itself without adhesive to create a flexible, watertight barrier.
These temporary methods are not permanent solutions and should be followed by proper repair or replacement soon after. Water damage can escalate quickly, so even minor leaks should be addressed professionally to ensure long-term reliability. Document the location and nature of the leak for the professional plumber, as this information helps them diagnose the problem quickly and recommend the appropriate repair.
Long-Term Maintenance and Preventive Care for Bypass Valves
Establishing a routine maintenance schedule is essential for ensuring your bypass valve continues functioning properly and preventing future leaks or operational issues. Every 3 to 6 months, inspect the bypass valve for signs of wear, corrosion, or mineral buildup. Check the handle movement to ensure it shifts smoothly between bypass and service positions without stiffness. If the handle feels resistant, apply additional silicone-based lubricant to the O-rings and internal piston to restore smooth operation.
Regularly clean the area around the bypass valve to prevent dust, debris, and moisture accumulation that can corrode fittings or interfere with O-ring seals. Keep the installation site dry and well-ventilated to minimize the risk of corrosion. If you notice mineral deposits on the valve exterior or connections, clean them with a soft cloth and mild vinegar solution to prevent buildup from spreading to internal components. Avoid using harsh chemicals or abrasive tools that can damage the valve body or O-rings.
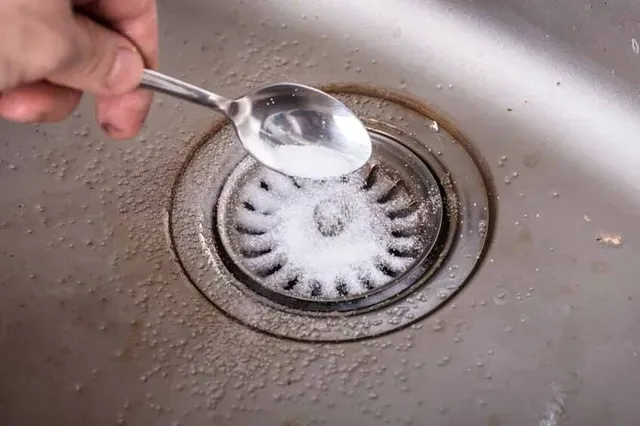
Understanding how drain cleaning protects your home's waterline is also important for overall plumbing health. Regular drain cleaning removes accumulated debris, grease, and mineral buildup that can restrict water flow and increase pressure within pipes. Elevated pressure stresses pipe joints, including bypass valve connections, and increases the likelihood of leaks or bursts. By maintaining clean drains throughout your home, you reduce the strain on your entire plumbing system, including the bypass valve, and extend the lifespan of all components. Consider scheduling professional drain cleaning annually if you have hard water or older plumbing.
Monitor your water softener's performance regularly to ensure it is treating water effectively. If the softener stops working properly, switch to bypass mode immediately to prevent unsoftened water from damaging plumbing fixtures or appliances. Check salt levels monthly and refill as needed to maintain consistent softening. If the softener requires service or replacement, the bypass valve allows you to continue using water without interruption while the system is offline.
Addressing Common Installation Mistakes and Troubleshooting
Several common installation mistakes can lead to leaks, poor operation, or premature valve failure. One frequent error is failing to lubricate O-rings before installation, which causes them to tear or fail to seal properly. Always apply silicone-based lubricant generously to all O-rings before connecting the bypass valve. Another mistake is installing the bypass valve in the wrong position, with the handle pointing in the incorrect direction. Ensure the handle is oriented so that "bypass" (pushed in) and "service" (pulled out) are clearly distinguishable and accessible.
Improper tightening of threaded connections is another common issue. Connections that are too loose will leak, while connections that are overly tight can crack fittings or damage threads. Use a pipe wrench to tighten connections securely but avoid excessive force. If using Teflon tape, wrap it in the direction of tightening and apply 2 to 3 layers for a secure seal. For quick-connect fittings, ensure C-clips are fully engaged with all three teeth seated properly, and that the softener is perfectly seated on the bypass assembly before clipping.
If the bypass valve handle becomes stiff or difficult to move after installation, the internal piston may be misaligned, or the O-rings may lack sufficient lubrication. Depressurize the system, remove the C-clips or disconnect the fittings, and reseat the bypass valve properly. Apply additional silicone lubricant to the O-rings and internal components, then reconnect and test operation. If the handle still feels stiff, the valve may be defective and require replacement.
When to Seek Professional Plumbing Assistance
While bypass valve installation is designed for DIY implementation, certain situations warrant professional expertise. If your plumbing system uses unconventional pipe materials, unusual configurations, or requires extensive modification to accommodate the bypass valve, a professional plumber can ensure proper installation without damaging existing plumbing. Complex installations involving multiple water softeners, integrated filtration systems, or custom piping layouts may also require professional assessment and installation.
If you attempt installation and continue experiencing leaks, poor operation, or unusual noises, professional diagnosis can identify underlying issues that simple adjustments cannot resolve. Professional plumbers also provide value through comprehensive system assessments that identify potential problems before they become emergencies. They can recommend upgrades such as additional UNION joints for easier maintenance, improved placement for better accessibility, or upgraded bypass valves with enhanced durability.
For homeowners who lack the necessary tools, time, or confidence to perform the installation themselves, hiring a professional ensures the job is completed correctly and safely, often with warranties that protect against future failures. Professional installation also provides documentation that may be required for insurance purposes or home resale.
Conclusion
Installing a water softener bypass valve properly ensures your home maintains continuous water flow during softener maintenance, repairs, or replacement, making routine tasks significantly more convenient. By following the systematic process of depressurizing the system, preparing plumbing lines, lubricating O-rings, connecting the valve securely, and testing for leaks, you can achieve a reliable, long-lasting installation that protects your plumbing investment. Proper installation prevents common issues like leaks, stiff handle operation, and premature valve failure, ensuring the bypass valve functions smoothly for years.
Long-term maintenance, including regular inspection, O-ring lubrication, drain cleaning to protect your waterline, and monitoring softener performance, extends the lifespan of your bypass valve and entire plumbing system. Understanding how drain cleaning protects your home's waterline empowers you to prevent pressure-related issues that stress bypass valve connections. Whether you choose to install the bypass valve yourself or hire professional plumbers for assurance, a properly installed and maintained bypass valve provides essential convenience and protection for your home's water system.