How To Test And Replace A Water Heater Thermostat?
A water heater thermostat controls the temperature of hot water by regulating when the heating element or gas burner activates. When the thermostat fails, water heaters may produce no hot water, inconsistent temperatures, or overheated water that poses safety risks. Testing and replacing a thermostat is a common repair that can restore proper function and extend the life of your water heater. This article explains how to diagnose thermostat problems, the step-by-step replacement process, leak isolation techniques, patching methods for associated piping, and long-term maintenance strategies to ensure reliable hot water performance.
Understanding Water Heater Thermostat Types
Water heaters use different thermostat types depending on whether they are electric or gas-powered. Electric water heaters typically have one or two thermostats that control upper and lower heating elements. Gas water heaters use a thermostat to regulate the gas valve and burner operation. Both types can fail due to electrical wear, corrosion, or mechanical damage, leading to temperature control issues.
thermostats are rated for specific voltage and wattage ranges, so matching the replacement thermostat to your water heater's specifications is critical. Using the wrong thermostat can cause overheating, element damage, or complete system failure. Professional plumbers and service companies such as All City Plumbers routinely verify thermostat specifications and recommend compatible replacements that match the original equipment manufacturer requirements.
Signs of Thermostat Failure
Several symptoms indicate a failing water heater thermostat. The most common is no hot water at all, which suggests the thermostat is not activating the heating element or burner. Inconsistent water temperatures—where water alternates between hot and cold—often point to a thermostat that is sticking or failing to maintain consistent setpoints. Overheated water that exceeds safe temperatures indicates the thermostat is not shutting off the heating source when the target temperature is reached.
Other signs include the thermostat display showing error codes, the heating element not energizing when tested, or the gas burner not igniting despite adequate fuel supply. If you notice these symptoms, testing the thermostat before replacing other components can save time and money. Early diagnosis prevents unnecessary repairs and ensures the correct component is replaced.
Testing the Thermostat: Diagnostic Steps
Before replacing a thermostat, test it to confirm failure. For electric water heaters, begin by turning off power at the circuit breaker and verifying that no voltage is present using a non-contact voltage tester. Remove the thermostat access panel and locate the thermostat terminals. Use a multimeter set to measure resistance to test the thermostat continuity.
With the thermostat set to a mid-range temperature, the multimeter should show low resistance (near zero ohms) indicating the circuit is closed. If the multimeter shows infinite resistance or no continuity, the thermostat is faulty and needs replacement. For gas water heaters, testing involves checking the thermostat output voltage to the gas valve. A multimeter set to measure voltage should show the expected output when the thermostat is calling for heat.
Professional technicians use specialized plumbing tools such as multimeters, voltage testers, and temperature probes to perform accurate diagnostics. They also check related components like heating elements, high-limit switches, and gas valves to rule out other causes of temperature problems. Comprehensive testing ensures the correct component is replaced and prevents unnecessary parts costs.
Safety Precautions Before Repair
Safety is critical when working with water heaters due to the risks of electrical shock, gas exposure, and hot water. Always turn off power to electric water heaters at the circuit breaker before beginning any work. For gas water heaters, turn off the gas supply valve and wait for any residual gas to dissipate before removing components.
Shut off the water supply to the water heater and allow the tank to cool before draining. Hot water can cause severe burns, so wait until the water temperature drops below 120°F before proceeding. Use proper personal protective equipment including safety glasses, gloves, and insulated tools when working with electrical components.
If you are not comfortable working with electrical or gas systems, hire a licensed professional. Water heater repairs involve hazardous conditions that require proper training and equipment. Professional plumbers have the experience and tools to perform repairs safely and efficiently.
Leak Isolation and Water Supply Preparation
Before replacing a thermostat, isolate the water heater from the plumbing system to prevent water damage during the repair. Shut off the water supply valve located on the cold water inlet line to the water heater. Open a hot water faucet elsewhere in the house to relieve pressure in the system.
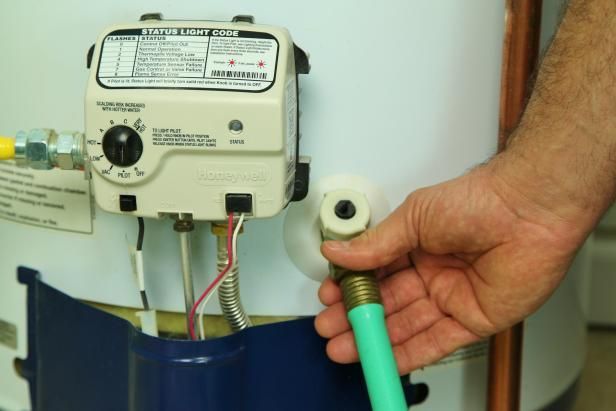
Drain a small amount of water from the tank by opening the drain valve and connecting a hose to direct water to a safe location. You do not need to drain the entire tank unless the thermostat is located below the water line. For most thermostats, draining just enough to lower the water level below the thermostat access point is sufficient.
For properties with extensive plumbing networks, proactive inspections help identify issues early. Regular maintenance activities such as inspecting your crawlspace for plumbing issues can reveal moisture intrusion, pipe deterioration, or early signs of leaks that might affect the water heater or surrounding plumbing. These inspections complement thermostat replacement by ensuring the broader plumbing infrastructure remains functional.
Step-by-Step Thermostat Replacement Process
Begin replacement by removing the thermostat access panel and insulation covering the thermostat. For electric water heaters with two thermostats, note which thermostat you are replacing (upper or lower) and replace only the faulty unit. For gas water heaters, locate the thermostat connected to the gas valve assembly.
Disconnect the wiring from the old thermostat terminals. Note the wire positions or take a photo for reference when connecting the new thermostat. Use needle-nose pliers or a small screwdriver to loosen terminal screws and remove wires carefully. Inspect the wiring for damage or corrosion, and replace any damaged wires before installing the new thermostat.
Mount the new thermostat in the same position as the old one. Secure it with the mounting screws provided and ensure it sits flush against the water heater jacket. Connect the wires to the corresponding terminals on the new thermostat, matching the positions from the old thermostat. Tighten terminal screws securely but avoid over-tightening which can damage the terminals.
Replace the insulation and access panel, ensuring all covers are properly secured. Restore power to electric water heaters by turning the circuit breaker back on. For gas water heaters, turn the gas supply back on and ignite the burner according to manufacturer instructions. Set the thermostat to the desired temperature and allow the water heater to cycle through a heating cycle.
Verify proper operation by checking water temperature at a faucet after the heating cycle completes. The water should reach the set temperature and maintain it consistently. If the water heater still does not function properly, further diagnosis may be needed to check heating elements, gas valves, or other components.
Patching Methods and Associated Pipe Repairs
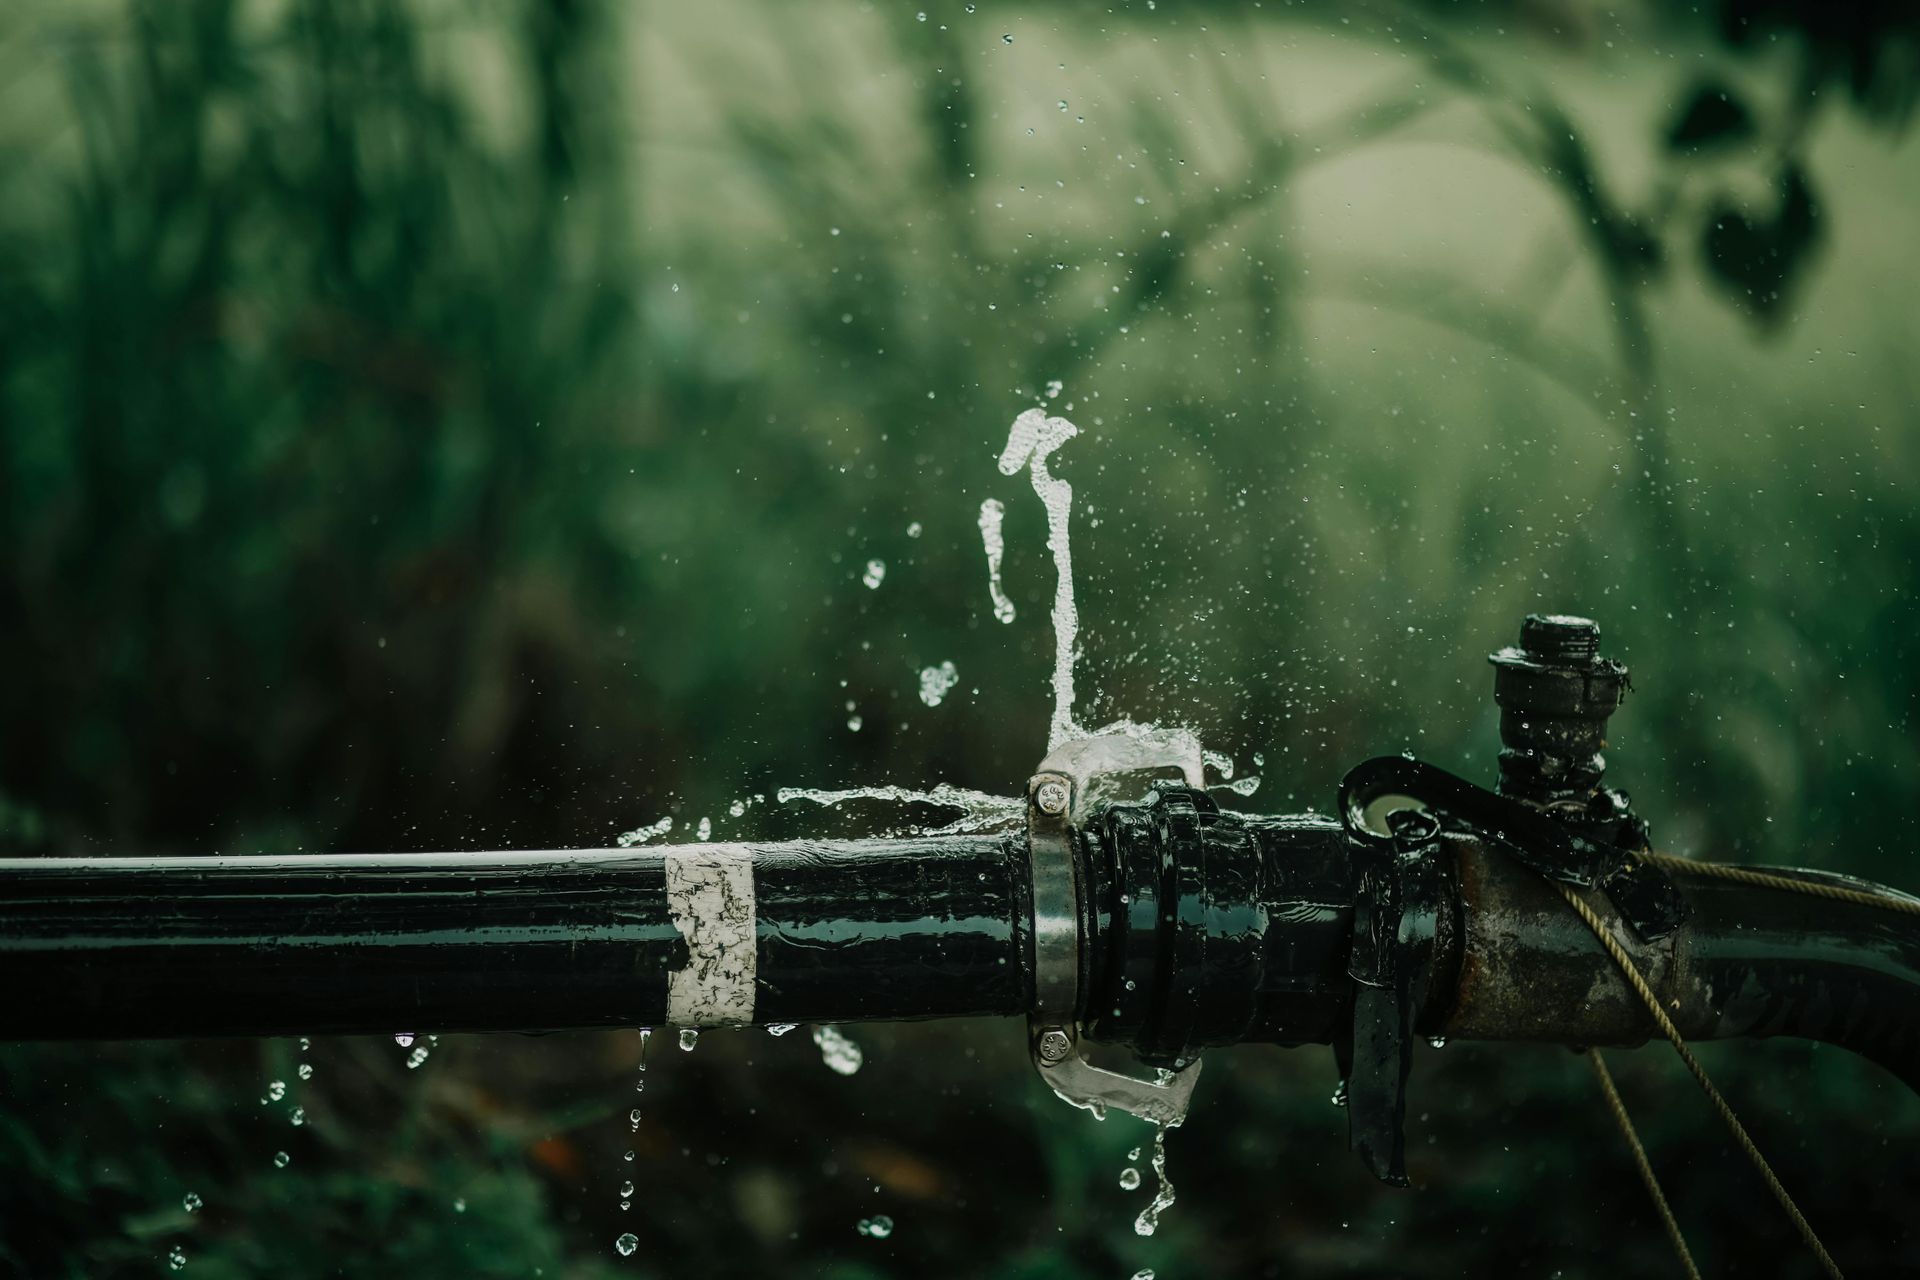
During thermostat replacement, associated piping may require minor repairs if leaks are discovered. Small leaks at fittings can be resolved by replacing compression nuts, re-soldering copper joints, or installing threaded connectors with appropriate sealing compounds. For damaged pipe sections, cutting out the affected length and installing couplings or a new short run restores integrity.
In cases where piping is embedded in walls or floors, access panels or small excavations may be necessary to reach the leak. Proper support and alignment of the repaired piping reduce stress on joints and prevent premature failures. When patching is used as a temporary measure, schedule permanent repairs promptly to avoid water damage or system downtime.
For water heater piping, professional plumbers use specialized plumbing tools such as pipe cutters, tube benders, and torches for soldering copper connections. They also use thread sealants and pipe wrenches for threaded connections. Proper installation ensures leak-free connections and long-term reliability.
Long-Term Maintenance for Water Heaters
Regular maintenance extends the life of water heaters and prevents thermostat failures. Annual inspections should include checking the thermostat for proper operation, testing the high-limit switch, and verifying temperature settings. Drain the tank annually to remove sediment buildup that can affect heating efficiency and thermostat performance.
For electric water heaters, test heating elements annually and replace if resistance readings indicate failure. For gas water heaters, inspect the burner assembly and clean if necessary to ensure proper combustion. Check the pressure relief valve annually by lifting the test lever and verifying water discharge.
Monitor water temperature regularly to ensure it stays within safe ranges (typically 120°F to 140°F). Excessively high temperatures increase energy consumption and pose safety risks, while low temperatures may indicate thermostat problems. Adjust thermostat settings as needed to maintain optimal performance.
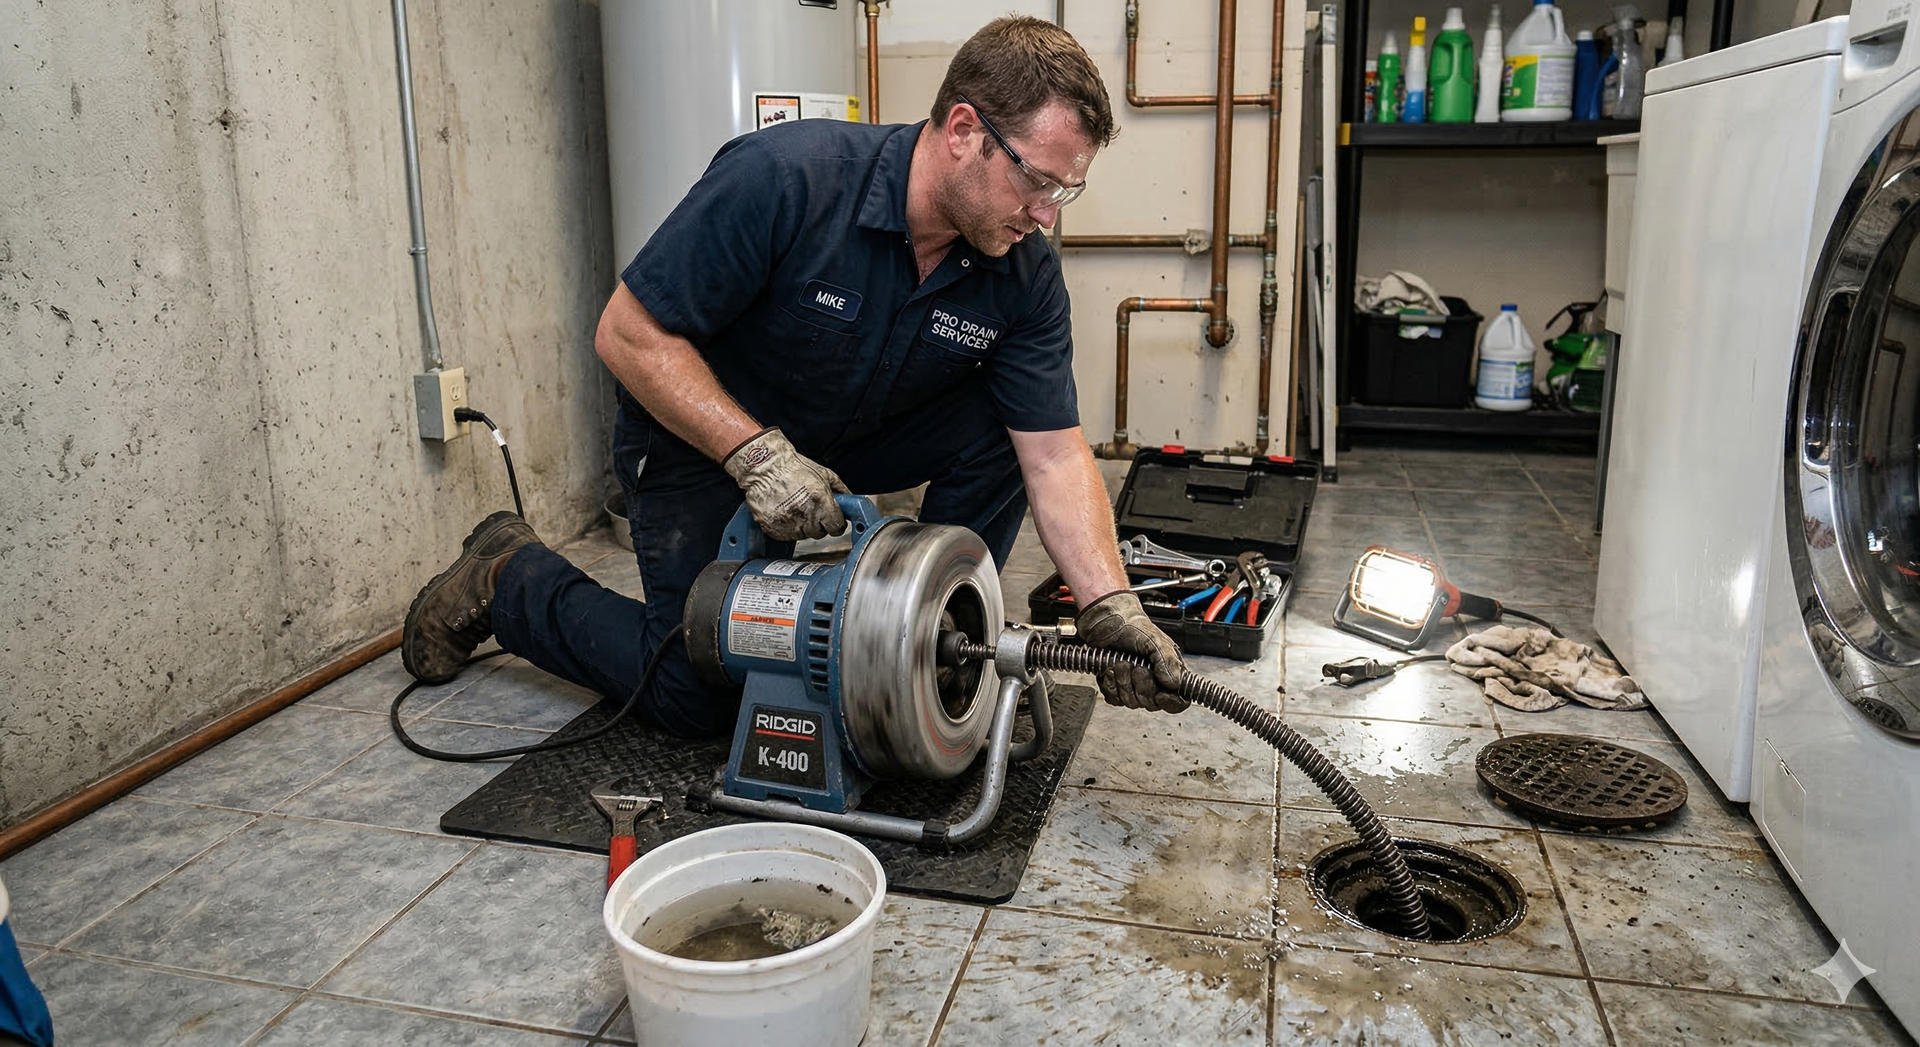
Integrating thermostat maintenance with broader plumbing care prevents systemic issues. Activities such as regular drain cleaning prevent buildup in downstream pipes that could affect water heater performance. Coordination between water heater maintenance and other plumbing maintenance tasks creates a comprehensive approach to plumbing system health.
For properties with water heating systems, ensuring expansion tanks are properly functioning prevents pressure fluctuations that could affect water heater performance. Expansion tanks absorb thermal expansion in closed systems and prevent excessive pressure that stresses the water heater and plumbing components. Regular inspection and maintenance of expansion tanks complement water heater care.
When to Call a Professional
While thermostat replacement is possible for experienced DIYers, hiring a licensed professional ensures proper installation and safety. Licensed plumbers have the training, tools, and experience to diagnose thermostat problems accurately and replace components correctly. They also guarantee their work and provide warranties on replacement parts.
Professional services are particularly important for gas water heaters due to the risks of gas exposure and combustion issues. Gas line work requires specialized training and certification that most homeowners do not possess. For electric water heaters, working with high-voltage electrical components poses shock hazards that require proper safety equipment and knowledge.
Companies like All City Plumbers offer comprehensive water heater services including thermostat testing, replacement, and full system maintenance. They provide detailed service reports, warranty coverage, and follow-up support to ensure long-term reliability. Request warranties on repair work and ask about maintenance packages that include scheduled inspections and thermostat testing.
Conclusion
Testing and replacing a water heater thermostat is a practical repair that restores proper temperature control and extends water heater life. Proper diagnosis using multimeters and voltage testers confirms thermostat failure before replacement, saving time and money. Step-by-step replacement procedures ensure the new thermostat is installed correctly and operates safely.
Engage qualified professionals for complex installations or gas water heater repairs to ensure proper execution and safety compliance. A proactive maintenance program that includes annual inspections, sediment removal, and thermostat testing will minimize emergency repairs and ensure consistent hot water delivery for years to come.